I have just put the buttonHOLE band (in BLACK) on for the third time...I should say I have re-knit the entire thing with 7 - count ‘em, SEVEN!!! buttonholes - like completed one whole band, attached it with a garter bar - remember, I’m talking black at T5 - didn’t like it, picked it off; made the second one, attached it, darned in the freaking ends - still didn’t like it, unpicked it off...same problem as with the first one! My newest, totally awesome, bound-looking buttonholes have a problem with a loose thread on one side...and I couldn’t figure out what I was doing that caused it...well, finally on the third time, I realized that when I was casting off the stitches, beginning on the right, after transferring the 2nd stitch to the 3rd needle, I was wrapping the yarn, coming from the right, under the needle and then into the hook from the left side - almost like wrapping the needle first, instead of just taking the yarn from the right and putting it directly left into the hook to cast off the next stitches - this little 'faux pas' was making a looser stitch that was really noticeable (to me anyway) after it was all done and off the machine - but, the good news! - if you were actually casting off stitch by stitch and needed it a bit looser - this would work! who knew? oh, don’t answer that....
Here's the buttonhole instructions from Simple-icity:
Buttonhole band. As for button band, making 7 buttonholes spaced as desired, as follows:
Cut a 3 yd length (3X width of n’s in work) of MC and set aside. As for button band, to RC007. Bring out 4 n’s for each buttonhole (for 20mm/7/8 inch button). Make a note of needle numbers. Ravel cord, knit by hand the buttonhole sts, leaving n’s in work. K7R. RC014. Fold row, T10, K1R. Knit to RC022. Bring buttonhole n’s slightly forward. Pick up sinker loops of MC (above ravel cord - there are 5). Place on n’s above, starting one needle to right of noted n’s. With extra piece of MC, from right, knit sts on first n, leave it in place. Knit next doubled stitch, then transfer it to left, leaving empty n. Repeat on next 3 n’s, to 4 empty n’s. After last transfer, knit and leave in place to anchor end of hole. Carry extra yarn to next buttonhole and do all buttonholes in this manner. Go back to right with extra yarn, chain across empty n’s (in hooks), anchoring yarn by wrapping on either side of buttonhole. The extra strands will be encased in the band. Pick up sts below ravel cord, hang on previously empty n’s. Pull out ravel cord. Pull loops through chain. On each side of buttonhole, wrap next stitch/needle and bring all n’s out, pushing work behind latches. Knit to RC029 and finish as for button band, attaching to right side of garment.
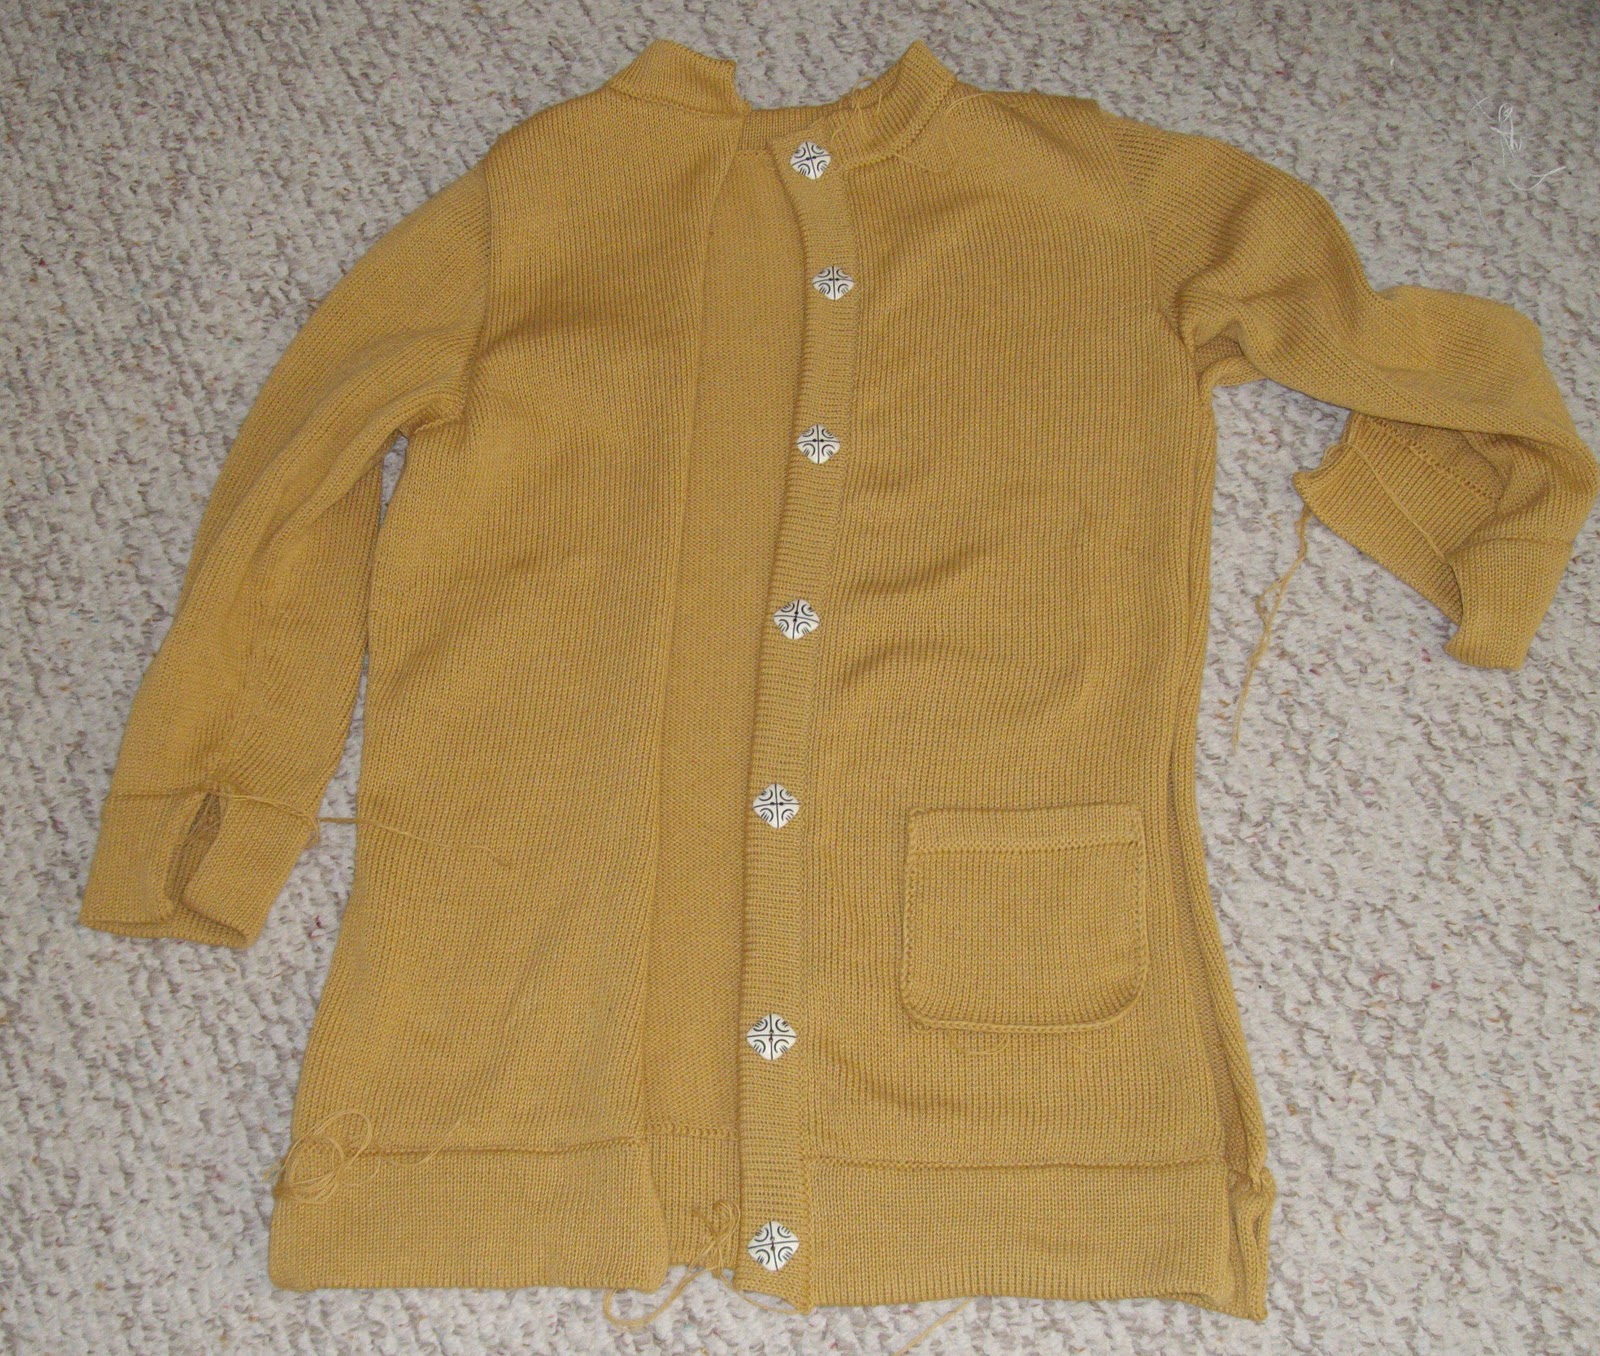
I could show you how nice it looks in black, but you’d just have to take my word for it! I'll tell you later what the band was being attached to....
Showing posts with label buttonholes. Show all posts
Monday, August 8, 2011
Saturday, March 5, 2011
Button detail
So, I’ve got exact placement on 3 of the 7 buttonholes and 2 more to go between the end and centre on each side. Rather than counting (and re-counting) needles, I use the ruler marked on the straight side of the needle selector to measure the spacing between needles - it’s much quicker to adjust and get the spacing exact this way. Now all I have to do is finish up!!
Maybe I should tell you, this is going to be the March pattern for standard gauge - tons of details to make planning, altering, knitting and finishing go easier, like when do you need an extra stitch for seaming or not. The yarn is Yeoman Yarns Brittany, used double stranded, so get 2 cones! I see Sue at http://www.knititnow.com/ is going to be bringing Yeoman Yarns to the US - Pat Holbrook at http://www.cardiknits.com/ in Canada.
About those buttons, I know what you're thinking - what's she thinking? - I had 7, the approximate size, but I agree, they really don't anything for the cardigan... wait and see!!
(bet you didn’t expect to hear from me again so soon! oh, and in case you haven't figured it out yet, if you click on the photos, they enlarge.)
Friday, January 22, 2010
the importance of actually reading...

I told you about the WCD cardis that are in No 52 and how I was going to remake the green one for myself - well, I did do that, using that beautiful light olive colour I had. Now, here’s a perfect example of what happens when you don’t read the instructions because you think you know what you’re doing!
In reality, I made both of the ruffled cardis back in August last year. They were held over to this Spring issue because there were too many patterns to all fit in No 51 and those two were the most appropriate to hold over for the next issue. So, when it came to remaking this pattern, it was a case of - I wrote the pattern, I know what I’m doing! - or I thought I did anyway.
I did make a few changes - who doesn’t, second time around, but the changes actually involved using vertical darts in the body of the sweater - instead of shaping the garment by decreasing and increasing at the side seams, I did vertical darts, to test out my theories and to have another sample for some of the workshops I’ll be teaching this year. I have an article on darts in the new issue, called ‘Darting Around’, dealing with horizontal darts - used in the bust area - and vertical darts, in plain stockinette AND in patterned fabrics - be sure to take a look at it - you might be surprised. Anyway, I made this olive cardi with vertical darts using the garter bar to move stitches over after the decreases and increases - that part went well.
When it came to the bands, I vaguely recalled making quite a few swatches - the bands are knit circular on the double bed and there is a really cool chained edge to it that is actually started off with a very loose row on the cast-on, and chained after the piece is removed from the machine. Anyway, the buttonholes were a bit of a challenge - because of the circular - I think this is my first time to come up with a technique for my no-sew buttonhole that worked for circular on a horizontal band. So, now, I ‘skimmed’ the instructions, made the band, attached it and got the garment off the machine. It was only later when I was chaining the edge that I realized my clever buttonholes had failed! What the ??? I looked at Sue’s cardi (I haven’t given it up yet!!) and her buttonholes are beautiful! Mine aren’t closed up on the last side.
Now, I specifically recalled remaking her buttonhole band and rewriting the instructions - what happened?? I’m sort of panicking at this point - the magazine is printed and on it’s way to me - I can’t change anything!!! I went to the instructions printed from the pfd proof copy I got back from the printers that I used to reknit from - what a relief!! the correct instructions are there - I just didn’t read the whole thing, figuring I knew what I was doing - huh! After casting off the stitches for the buttonhole, I was supposed to bring out ONLY all the EMPTY needles, which would cancel the circular setting just for those needles and give me a zigzag over the buttonhole needles, which would then be lifted off and twisted to ‘e’ wrap back on - this is what closes up the second side of the hole - so watch out! Be sure to read all the directions and apply them in the proper place! Let me know how you make out!
Subscribe to:
Comments (Atom)
