Tuesday, August 30, 2016

the hurry-er I go...

the behind-er I get! I got that first sleeve off the machine in about 40 minutes, feeling pretty good that I had no glitches, like dropping everything off or switching the yarns wrong or something like that. After all, that's what the yarn changer is all about! LOL!  BUT, it looks suspiciously small!!! Now, I am using my KR11/knit contour/shaping device  for the size - you program in the stitch and row count from the swatch and it shows you how many stitches to cast on, when to increase and how long to make it. Usually I also have a to-scale drawing on graph paper that I can make brief notations, like how many stitches to cast-on and the row count at the underarm and top of sleeve cap so I can be sure that the next piece matches up AND usually I use the calculator to multiply the row gauge by the length of the sleeve so I should know ahead of time close to where I should be by the time the mylar feeds through to the underarm, but somehow, yesterday, I forgot this step...Sure enough, I had plugged in 63 rows to 10 cm instead of the actual 68 rows - no wonder it looks short. I briefly entertained the idea of teaching Rhiana to push her sleeves up slightly for the 3/4 sleeve look but my heart said no, you can't cheat a granddaughter!
A few notes on the knitting...
Bring the end needle out at the carriage side, at the beginning of each row. This makes sure the end needle knits properly and that both yarns/colours go to the edge of the knitting.
Increase: when the carriage is at the right side (away from the yarn changer) you have one colour at this side - bring out the next new needle and ewrap it with that colour. At the same time, do an ewrap at the left side with the unused yarn. This way you aren't fighting both yarns at the left side.
Decreases/shaping for the sleeve cap: normally I would want to shortrow the sleeve cap and then cast them all off at the end but that means holding position which will surely cause trouble because of the yarn changer. On the bad sleeve, I did go to the old method of casting off stitch by stitch with the transfer tool on the carriage side of the work. It takes more time and is rather ugly. This time, I used the ravel cord method of shortrowing - why didn't I think of that yesterday? So much better! 
BTW, that one at the bottom - no, I did NOT knit that in the opposite colours just to see what it would look like...but check out that cast-off! ;-)

Monday, August 29, 2016

talk about pressure...

I haven't been doing too much blogging or standard gauge knitting lately - I've been working on a new book of techniques for the manual machine - more on that later!
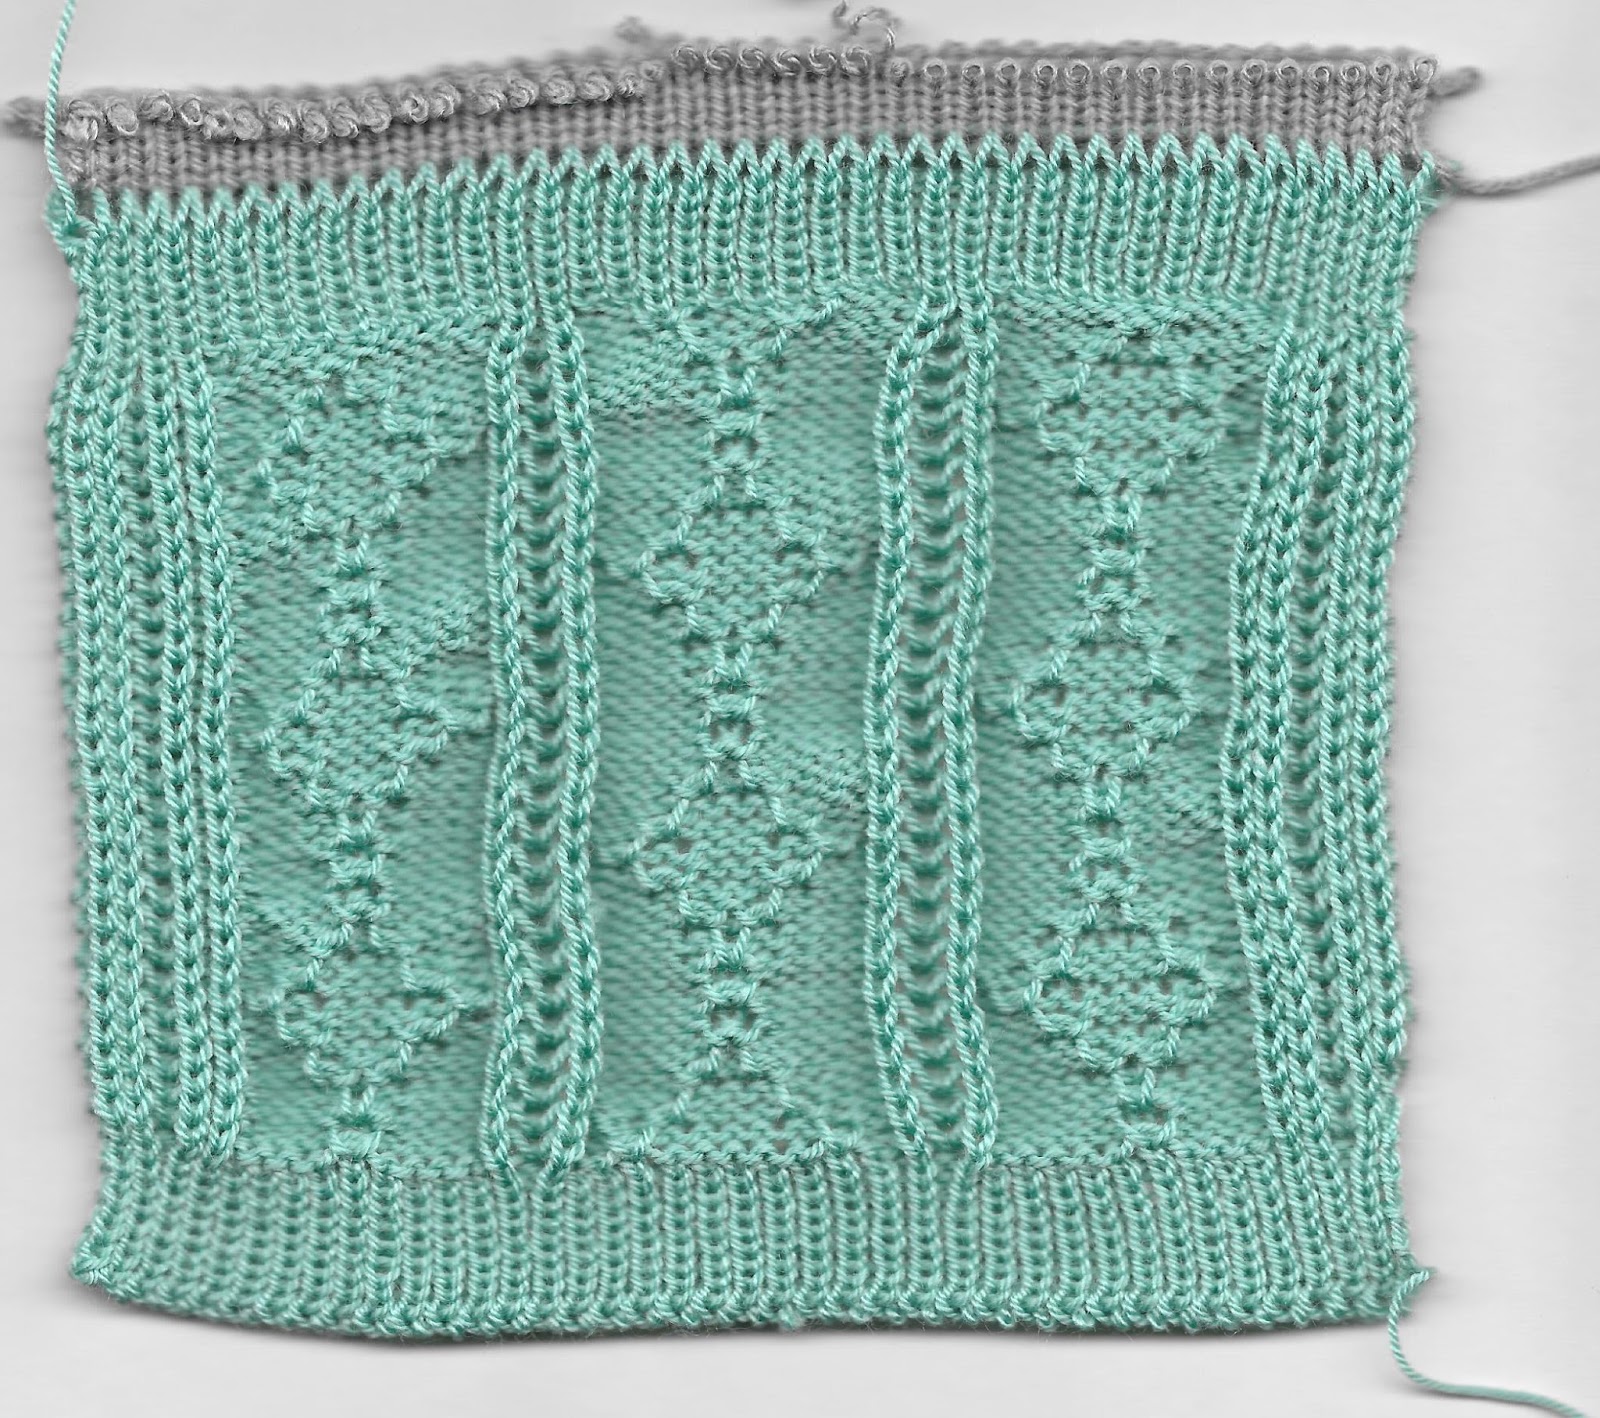
Rhiana, my nine year old granddaughter, was over on the weekend and spotted the jade green and white cones of yarn sitting on top of my standard machine and wondered if I was getting around to her panda sweater (http://knitwords.blogspot.ca/2016/05/panda-monium.html) and when did I think I'd have it ready? I promised her that it would be ready for her back-to-school which is the day after Labour Day. I was thinking that would give me 2 weeks but crikey! it's only a week away! I do have the swatch that I/we made back in May, but why can I not find any notes? I was going to start with that nice hem that I had on the swatch - it looks really good but I don't know what I did!
I thought I'd wing it...sat down and cast on with waste yarn on the single bed and then, thought, why would I do that? I need the ribber for the semi-jacquard so why wouldn't I use a ribber band and then I went DUH! It's a double bed circular hem! and it IS really nice! The 'fold' line at the bottom was what was puzzling me because it works so well and then the rest of the band is so even and neat - LOL! Well, lesson learned! If I write it in this blogpost, I'll always know where to find it, even if you don't care!
Circular Hem. Swing H5. Arrange for full needle rib, end ns on RB. Cast on WY. Knit several rows. Set to circular. T4/6, ravel cord, K2R. Move carriages to left without knitting. Bring ns all out. This will cancel the circular setting and make a zigzag row (without having to change the settings back and forth). MC, T2/2, K1R. Hang comb and one weight. RC000. T1/3, knit circular, grading tension by increasing one full number for each row to T8/10, RC014. Swing P. Transfer sts to needle arrangement desired - for semi Jacquard, all working on MB and only every 6th needle in work on RB. Swing H. Program pattern and use next row to read/select. T9/7, K1R. RC000. Set to slip.

And the book? I think of it as a resource manual for the manual machine so I wanted to call it 'The Manual Manual' but I'm working on that. It's full of techniques, the when, where and whys of what to do, and hand transferred stitch patterns and trims and edgings all suitable for non-punchcard or non-patterning machines. Rick (my layout guy) is calling it the 'war and peace of knitting'! We are on page 78 of the layout and still have probably another 35 to go - I was aiming for 75 total - he knows my other 'books' were all 28 pages and the magazine was 48 pages so no wonder! He thinks I need to get a life! Do I edit it down or go for broke?

Wednesday, August 10, 2016

salvage operation...

I'm working on a pullover version of the Church Cardi...(heavy sigh!) I took the sleeve of the cardi (plain stockinette with a lace hem) and measured it against the front panel, which is fully patterned, to see where I needed to start the patterning on this sleeve so it would match up at the underarm. Decided that I should begin with 2 repeats of the 'cross and triangle' and went ahead and knit the sleeve. When I got it off the machine, it looked suspiciously short...drat! What do I do now? I really hate too-short sleeves. I briefly consider ploughing ahead, telling myself that I probably won't wear this anyway - it's a pullover and I just don't wear pullovers. On the other hand, I could just always push them up and nobody would know. BTW, this yarn is beautiful (Cascade Ultra Pima) and the combined stitch patterns, I think, are really stunning.
I figure, oh well, what's another day in my life to knit another sleeve? It's not like this is the first time I've had to make an extra sleeve (or two or three! LOL!) I go ahead and make the second sleeve with 3 repeats at the bottom - it's perfection! Then I thought, huh! maybe I can salvage this! got nothing to lose in trying. I'm going to separate it just above the last 'cross and triangle' repeat - there are 2 rows of reverse stockinette separating each of my patterns. If I can pull the right thread and open up the piece I can add another repeat to the bottom portion and then graft it back together, duplicating the row of reverse stockinette that I had to destroy to get it apart! sounds easy when you say it fast!
I steamed the sleeve to set the stitches, took a deep breath, grabbed  the scissors and snipped the yarn in the middle of the bottom row of reverse stockinette. Now, pick at each side to get a big enough piece to get a grip on, and pull on it to draw it across to the edge, snip the excess from the centre and then carefully pick out to the end of the row, ending up with almost two inches at each side which will be enough to darn in. Take the top portion and rehang it, right side facing and I have the one purl row hanging on the needles! Waste yarn it and then hang the bottom section, wrong side facing me. Good so far! Go ahead and knit the missing 14 rows, measure out a 3X the width tail to be used (maybe for the grafting row if it happens to be on the correct side of the work!) and waste yarn this piece. Steam them both, grab my close-up glasses, a darning needle and set to work. OMG! It's working! I'm so happy I could just knit! Less than 45 minutes! 

Sunday, July 24, 2016

double dipping....

I'm here, finishing up Legacy - picture this, it's like a hundred degrees with extreme humidity - my hair is so bushy and curly, it's ridiculous! I've got my Ott light on, my newest reading glasses, my headlamp, 2 tools in each hand and one in my mouth - don't laugh, I know you've done that too!
Rehanging black stitches! arr-r-g-g-h-h-h! But this is gorgeous! and I did go for the shortrowed lace edging from Nougat like I mentioned back in '12 Step'.
I don't think I ever told you the story behind the BTR trim, which is what I named that edging. BTR is the airport code for Baton Rouge and I was in Baton Rouge, LA doing a hands-on, weeklong workshop for a couple of machine-knitting ladies.
 Now, previously, hands-on workshops had never been my favourite pastime - I always thought I had to work much harder at a hands-on because you got people using machines for the first time - they borrowed one that had been put away because they didn't want to pack up their own from home! Or they hadn't really ever knit anything, like ever, or they weren't using the prescribed yarn and were substituting some crap to save money...and I'd be running from machine to machine problem-solving all day long.
Baton Rouge from KNITWORDS #41
So, anyway, my BTR ladies promised that they weren't like that and they told me I could be working on my own project on the spare LK150 they had set up for me. I went there with a plan to work on my LK design for the magazine. I not only got the entire project knit, but experimented and came up with this fabulous trim that sort of looks like garter stitch but so much better! I got paid nicely for the week, did my own work and at night, they took me out to sample all the excellent local cuisine! I figured the least I could do was to name the garment and trim in their honour!

Friday, July 22, 2016

thought my eyes were playing tricks on me....


you  know how when you're interested in something, you sometimes see something that isn't there? like some words just jump out at you...I got an email advert thing yesterday from John Fluevog shoes - I am somewhat obsessed with them and have several pairs, notably my  prized red operettas -
 http://knitwords.blogspot.ca/2012/11/nipigon-nylons.html 
and when I was checking my email, I saw 'John Fluevog' in the correspondent section and I was taken aback that I thought I read 'knitting in the sunshine' in the subject heading and in my mind, I'm saying, 'MA, you've crossed the line if you think John Fluevog is talking about knitting! Well, he/they were! Oh my! check it out! they are having a knit night at a local /Toronto yarn shop and bringing shoes! what could be better? oh, to be in Toronto next week!


Saturday, July 16, 2016

aran-look scarf...

The Last Red Scarf  (Red Scarf  for Aids Awareness)
Machine: 4.5mm standard gauge with ribber. Knit on Silver Reed 580/SRP60N
Yarn: red Forsell Shamal 4 ply, 20% wool, 80% acrylic, 2520yds/lb (would be T7-8 stockinette) or any fine 4 ply yarn that knits a rib comfortably.
Gauge: Not really critical - Tuck Rib, T8/5, 24 sts and 50 rows to 10 cm/4 in.
FNR hem: Swing H5, all ns working, both beds. End ns on MB. Cast on WY, T4/4, K1R. Hang comb and one large weight in centre. Knit several rows. Set for circular and knit ravel cord in circular, 2 rows. CAR, set to knit both beds, both ways. RC000. Bring all needles out. MC, T3/3, K1R. Rack to H4, bring all needles out. T4/4, K1R. Rack H5. T5/5, K1R. T6/6, knit to RC008. Swing P. Transfer to MB, leaving 2 sts on RB (see stitch chart from yesterday) - all in work on MB; 10 out, 2 in work on RB.
Set back to Swing H. T8/5 Set to tuck rib:
Silver: set pattern to begin, punch card, release card. Electronic, inspection lite off. MB, cam lever to tuck, side levers back at triangle; RB, pick knob on tuck symbol, left set lever on 1, right set lever on 0.
Brother: set pattern to begin. MB, both tuck buttons in; RB, left cam lever down  to N, tucking lever to P, right tucking lever up to P-R.
Tuck pattern: 24 st X 18 row repeat.
SilverReed, enter as shown, white squares are tuck stitches.
Silver with DAK, have Main/X on white square.
Brother, enter as shown.
TIP: for this stitch pattern, if needle selection and needle arrangement is correct, there will be a tucked stitch on the main bed between the 2 rib stitches after the first row of pattern is knit.
Cancel tuck on last 4 end needles each side - Silver- move point cams in; Brother electronic, enter width that you wish the tuck to pattern to; other - pull all 4 edge ns out to cancel patterning before knitting the row (or not - it really isn't a big deal but I thought it looked nicer without the MB tucking into the longstitch...)
Bring 25-0-26 ns to work on main bed. Set to H5 and bring ns on ribber to work so outside ns are on MB - one less than knit bed. Set up and knit FNR hem as above to RC008. CAR. Download pattern (read punchcard or set up for pattern knitting as above).
Leaving 5 sts at each side for tucked longstitch facing, transfer RB sts to main bed except for the 2 either side of the vertical tuck line in stitch pattern that will be at #6Left and #7Right if you are using same stitch pattern.
Knit 715 rows or desired length (150 cm/5 ft) ending at suitable place in pattern, like middle of a diamond. Cancel tuck on both beds, K1R. Swing P, fill in empty ns on RB with heel stitch from MB. Swing H, T6/6, K7R. T10/10+, K1R.
Set for circular knitting. With waste yarn, T5/7, K20R circular. T5/5, FNR, K2R. Remove from machine.
This is a method to give the cast-off edge good elasticity and look similar to cast on edge. Block and steam, steaming WY as well, to set stitches. Remove last two rows of waste yarn to open the end. Fold waste yarn out. Using latch tool, start at side opposite to yarn end. Chain cast off with latch tool by picking up end stitch, put behind latch. Pick up next stitch from other side of WY and pull through. Continue going back and forth across row. At end, pull yarn end through to anchor. Remove waste yarn. Darn in ends.

Did you notice I didn't grade the tension at the end of the FNR hem? I found it just caused grief for the cast-off because of the tight stitches and really didn't make a difference in the look of the cast-off compared to the cast-on!
Analysis: This was really quick - I did it in less than an hour - and easy and made a very pretty scarf! I love the fabric - I used it before in Serial Stuff 2, Tuck Rib Cardi, which I still love and wear a lot - I think this has inspired me to knit it - the TRC,  again, perhaps incorporating the longstitch facings!
Red scarf for Aids Awareness count: 8!

Friday, July 15, 2016

the last red ribber scarf...

Take a tuck pattern, add a few rib stitches to make
vertical lines to stabilize the fabric, start off with a full needle rib hem with the racked cast-on, transfer to stitch pattern needle arrangement, add extra stitches on rib bed for tucked longstitch facings at edges to finish sides - you should be a ribber expert by the end of this! Hope you've been at least making swatches from the previous scarf patterns because you'll need some of the previous techniques - I warned that you might learn something!
FNR hem: Swing H5, all ns working, both beds. End ns on MB (one extra on MB than on RB). Cast on WY, T4/4, K1R. Hang comb and one large weight in centre. Knit several rows. Set for circular and knit ravel cord in circular, 2 rows. CAR, set to knit both beds, both ways. RC000. Bring all needles out. MC, T3/3, K1R. Rack to H4, bring all needles out. T4/4, K1R. Rack H5. T5/5, K1R. T6/6, knit to RC008. T7/7, K1R. Swing P4. Transfer to MB, leaving 2 sts on RB as below:
Tuck Rib - all in work on MB; 10 out, 2 in work on RB. (see below stitch pat. chart)
Set back to Swing H. CAL. T8/5, K1R (Brother, use this row to read/select pattern). Cancel patterning for the 4 outside edge stitches where the longstitch is. CAR. Set to tuck rib:
Silver: set pattern to begin, punch card, release card. Electronic, inspection lite off. MB, cam lever to tuck, side levers back at triangle; RB, pick knob on tuck symbol, left set lever on 1, right set lever on 0.
Brother: set pattern to begin. MB, both tuck buttons in; RB, left cam lever down  to N, tucking lever to P, right tucking lever up to P-R.
Tuck pattern: 24 st X 18 row repeat.
SilverReed DAK enter as shown, white squares are tucked stitches, have main /X on white square
Brother, enter as shown.
TIP: for this stitch pattern, if needle selection and needle arrangement is correct, there will be a tucked stitch on the main bed between the 2 rib stitches after the first row of pattern is knit.
Set to H5 and bring ns on ribber to work so outside ns are on ribber - one more than knit bed. Cast waste yarn in zigzag, hang comb and 1 large weight. Knit several rows, ending CAR. Switch to circular for the ravel cord, K2R. Cancel circular.  Rack to H4. RC000. Main yarn, T1/1, K1R. Rack to H5, T2/2, K1R. T3/3, K1R. T4/4, knit in FNR to RC010. CAR. Download pattern (read punchcard or set up for pattern knitting as above).
Leaving 4 sts at each side for tucked longstitch facing, transfer RB sts to main bed except for the 2 either side of the vertical tuck line in stitch pattern that will be at #6Left and #7Right if you are using my stitch pattern.
Knit desired length, ending at suitable place in pattern (middle of a diamond) CAR. Cancel tuck on both beds, K1R. Swing P, fill in empty ns on RB with heel stitch from MB. Swing H, T4/4, K8R. T9/9+, K1R.
Use WY in circular to end as for the Archaeology Scarf...

This is my last ribber scarf - I'll post the final pattern tomorrow or the next - I've run out of suitable red yarn so that's it for the ribber stuff! oh yeah, if you need/want the DAK file, email me at knitwords@shaw.ca