Showing posts with label Omega hoodie. Show all posts

Tuesday, February 20, 2018

decreasing hack...

me, original, 2012
Just been putzing around, I am having a tough time deciding on a project, so just to be busy and stay out of the fridge, I am making pockets to put on my ‘Omega’ hoodie (Serial Stuff 4) from a few years back. It is a fitted-body, zip front, saddle-shoulder cardigan that I have re-made several times since then and just love, but this red and black one, my first, I don’t wear as much because, I think, it doesn’t have pockets. I didn’t put the front pouch pockets in at the time because I thought since it was fitted, I wouldn’t want pockets to add bulk to my mid-section. Since then, I have re-evaluated life and figure, who cares? and if there is a bulky looking mid-section, maybe I can blame it on the pockets? Anyway, I am making patch pockets - it’s the only way to add them without taking the entire garment apart and that isn’t happening!


2017 camo version, with pockets
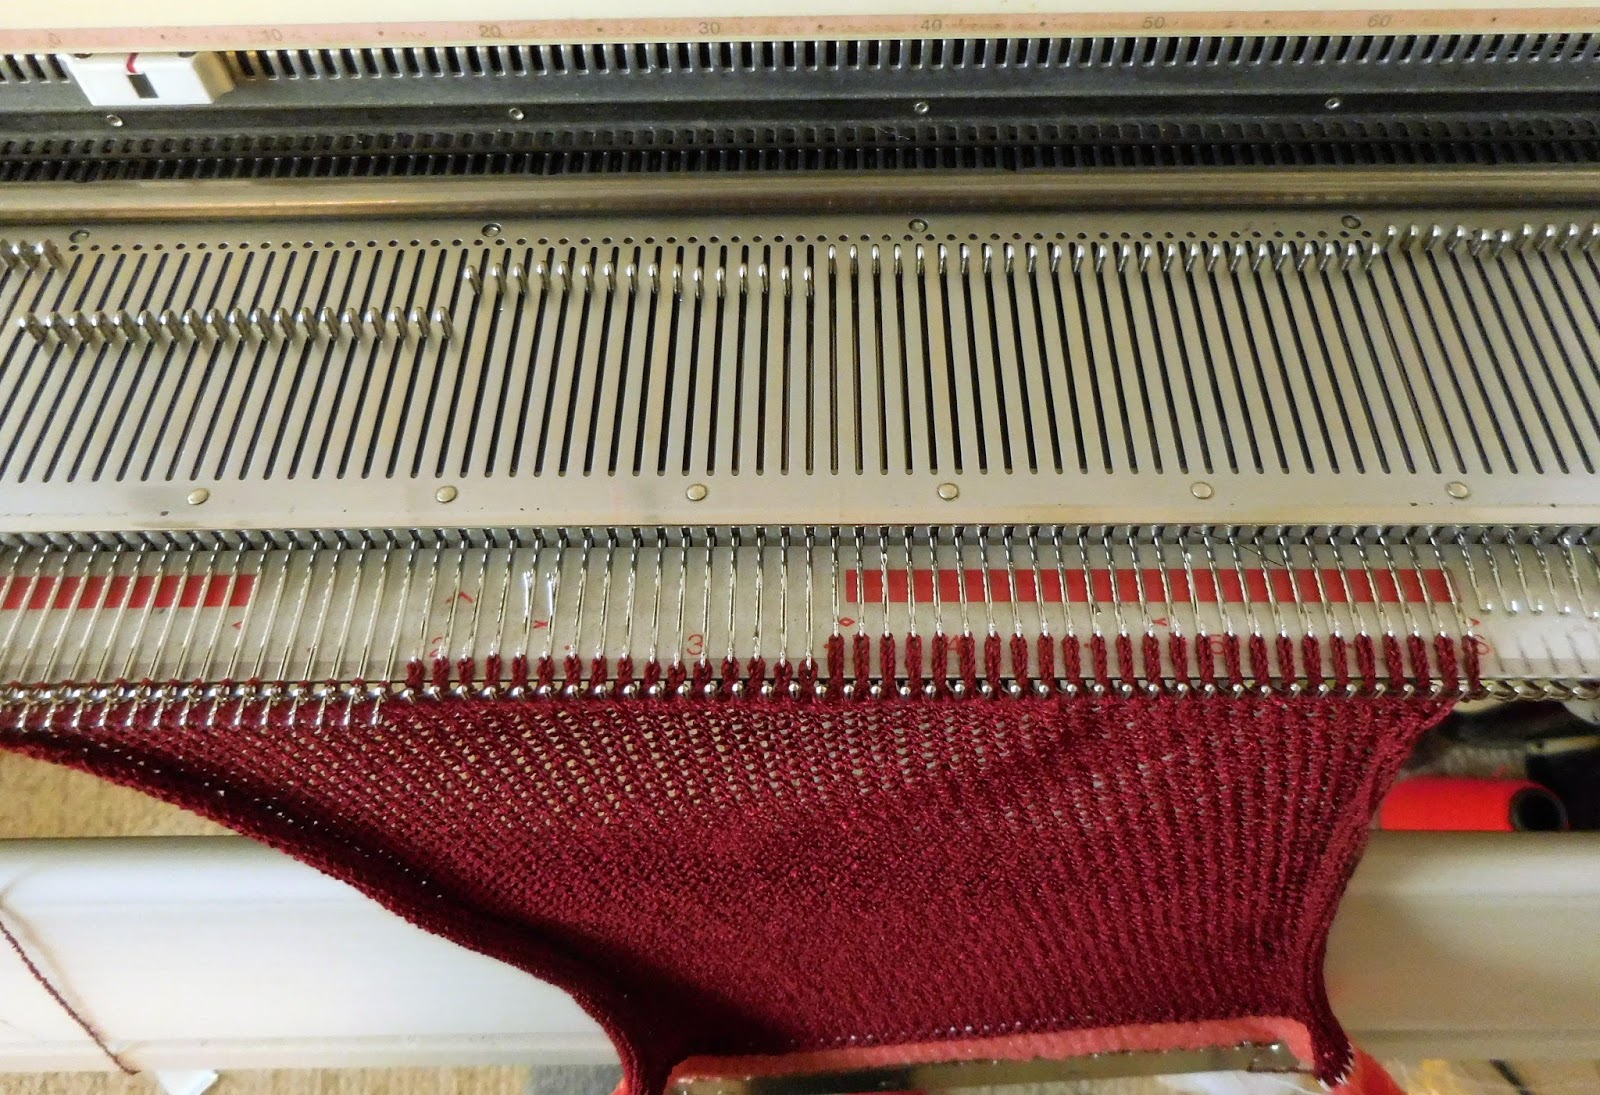
I still want the same shape pocket with the slanted edge to the outside and I will stitch in in place, along the top of the hem band and beside the zipper band so all edges need to be finished and similar looking. I started off the bottom edge with a double stranded chain cast-on and knit up to row 36 to begin the sloped edge. Always in the past I have used a 3-prong tool outlined decrease on every other row to make a neat, slightly rolled edge that is automatically finished but does take a little more time. I decide to see what happens if I just shortrow the decreases – much quicker and worry about the finishing off later. After all, if this does not work out, I can re-do it the old way, right?
manual loose row variations
At the top of the pocket, same row as the decreases/shortrowing are done, I need to cast everything off with a finished-look. Cancel hold and knit a row over all to clean off the held stitches Using the main yarn double stranded, I hand knit the final row, making the sloped edge, held stitches extra large, almost right back to A position and on the ‘top of pocket’ stitches, knit them back halfway between A and B – they don’t need to be as large as the sloped edge stitches. Chain them off and wow! I’m happy!

almost finished, pinned in place
To finish the straight selvedge that goes up the centre front, which was 90 rows, I chained over 45 needles, double stranded – use the latch tool from the mid gauge machine to maintain a loose, even tension – wrong side facing you, hang half the outside edge stitches – the bar between the knots of the selvedge edge and then single strand, knit a loose row to chain off the two sets of ‘stitches’ – this puts that chain cast-on on the outside edge of the pocket! Do the same thing to the shorter selvedge side on 18 needles - BTW, this is WCD at T6, gauge is 34 sts and 50 rows to 10 cm/4 in.
  That’s so machine-knitter-ish! I’m boondoggling and still looking for a shortcut!

Tuesday, January 31, 2017

camo...


Waiting for the zipper to come for Janet’s ‘Omega’ and I just sorta unconsciously or maybe it could be said involuntarily, started knitting again without a definite plan – that’s what I was telling myself anyway! I still had the sleeve chart in the knit contour, didn't need to bother with a swatch for gauge and I had this cone of ‘olive garden’ wool crepe deluxe that had been kicking around my knitting room for the past almost two years that I couldn’t quite decide what to do with. I had ordered it back when Janet wanted a new dress in a print and there must have been a sale or clear-out or something because I had 3 cones of variegated stuff that I usually avoid at all costs unless it’s for socks. One was the ‘watercolour’ (royal, navy, peacock), that I did her dress in (and later managed to eke out a TLR cardi for her as well
http://knitwords.blogspot.ca/2016/03/plan-b.html
 - I was sure it was colours she really likes and that I do not - I hate when I make something for someone else and it turns out spectacular and I must give it away! And, I admit, I do sometimes get carried away when placing a mail order - I think of the time waiting for it to arrive and if it's not what I really want, then I have to wait that long again for the second order to come so I might as well go all out and have a few choices in the first order, right? That's how I ended up with the olive garden (plum green, beigey-pink that she might like) and my third choice, 'tacoma' (quite dark, browns, black and a bit of green that I probably could like, just in case - of what, who knows?)
Back to the olive garden WCD, I did knit a couple of  small samples – one in stockinette and one in that Tuck Lace Rib and I couldn’t say yay or nay, it just was not speaking to me…
You might be asking, MAO, what do you have against variegated yarn? Well, it’s the patches or spots or weird diamondy things that happen in stockinette when you aren’t really wanting it to, especially in larger pieces and they won’t ever be the same, especially with different widths/number of stitches. When I made Janet’s dress, I’m sure that I just got lucky and the diamondy things appeared from the waist to just under the bust and looked nice when the dress was on.
I thought of the usual ways to avoid the spottiness, like sideways knitting and mixing in another yarn but again nothing was really appealing to me. While I was knitting Janet’s hoodie, it crossed my mind that I’d been noticing yoga wear hoodies with saddle shoulder sleeves in a print fabric, with solid body and that’s when I just started to knit the sleeve of Omega, figuring there might be enough shaping all over the sleeve to really change up the colour stacking and maybe offer something that would work for me without having to actually knit fairisle which would make the sleeves thicker than the rest of the garment and I didn’t want that. By the time I finished the second sleeve, I was hooked on this fabric – it sort of reminds me of a ‘camo’ print and if I do the body plain – the leftover ‘rosemary’ WCD looks nice with it and I just happen to have a zipper that may work too! Bonus!
Notice the flat hood at the bottom of the photo – it is basically a straight piece, same width all the way up with no increases or decreases and see how the fabric ends up with short, little stripy bits and no splotches or diamonds until the shortrows at the top, whereas the sleeves have both splotches and diamonds randomly throughout because the width of the knitting is constantly changing. When the sleeve is formed into a circle that won’t be so in-your-face noticeable as if it were on the front of the garment. Fingers crossed! I made the sleeves a little extra long in case I don't end up liking it and have to give it away..

Monday, January 23, 2017

i was in denial...

rehung!
I didn't really look closely at the second front - I was on a roll, knitting pieces like no one’s business, hand stitching the cuffs and bands, joining pieces and admiring my progress! Right down to the end, collar and hood are on, all pieces seamed, ends darned in and then, funny, it seemed that one front was longer than the other. Maybe I was too enthusiastic when I pressed it? In my haste to get this done and be able to order the zipper (yes, even though I do have 2 light blue options, I’m not completely happy with either even if the length is right) - I made the chained edging for the shorter side and completely ignoring the fact that the other front edge appears to be a good 5 cm/2 inches longer. (On that last blogpost photo, I bodged the pieces and hid the longer front under the cast-on edge of the hood – who was I kidding? like you knew?) I even attempted to hang that side on the same needles, hoping to 'ease' in the excess but had to abort! It just wasn’t going to work. So, still with the utmost confidence, I figured I'd wash it and that would fix the obvious problem - I must have stretched it in my original pressing when it came off the machine.
good to go!
Nope, that didn't work! Facing the fact that I must have followed the Back instructions instead of the Front, I now, very calmly with no swears, began picking out the seam between the sleeve/shoulder, hoping against all odds that I could salvage this operation...OMG! It worked. With the undoing of that single seam, I was able to unravel the left front back down to the start of the underarm  - I know how many stitches and what row I should be on -  a piece of cake!
 Fake it till you make it!