Showing posts with label decrease by shortrowing. Show all posts

Tuesday, February 20, 2018

decreasing hack...

me, original, 2012
Just been putzing around, I am having a tough time deciding on a project, so just to be busy and stay out of the fridge, I am making pockets to put on my ‘Omega’ hoodie (Serial Stuff 4) from a few years back. It is a fitted-body, zip front, saddle-shoulder cardigan that I have re-made several times since then and just love, but this red and black one, my first, I don’t wear as much because, I think, it doesn’t have pockets. I didn’t put the front pouch pockets in at the time because I thought since it was fitted, I wouldn’t want pockets to add bulk to my mid-section. Since then, I have re-evaluated life and figure, who cares? and if there is a bulky looking mid-section, maybe I can blame it on the pockets? Anyway, I am making patch pockets - it’s the only way to add them without taking the entire garment apart and that isn’t happening!


2017 camo version, with pockets
I still want the same shape pocket with the slanted edge to the outside and I will stitch in in place, along the top of the hem band and beside the zipper band so all edges need to be finished and similar looking. I started off the bottom edge with a double stranded chain cast-on and knit up to row 36 to begin the sloped edge. Always in the past I have used a 3-prong tool outlined decrease on every other row to make a neat, slightly rolled edge that is automatically finished but does take a little more time. I decide to see what happens if I just shortrow the decreases – much quicker and worry about the finishing off later. After all, if this does not work out, I can re-do it the old way, right?
manual loose row variations
At the top of the pocket, same row as the decreases/shortrowing are done, I need to cast everything off with a finished-look. Cancel hold and knit a row over all to clean off the held stitches Using the main yarn double stranded, I hand knit the final row, making the sloped edge, held stitches extra large, almost right back to A position and on the ‘top of pocket’ stitches, knit them back halfway between A and B – they don’t need to be as large as the sloped edge stitches. Chain them off and wow! I’m happy!

almost finished, pinned in place
To finish the straight selvedge that goes up the centre front, which was 90 rows, I chained over 45 needles, double stranded – use the latch tool from the mid gauge machine to maintain a loose, even tension – wrong side facing you, hang half the outside edge stitches – the bar between the knots of the selvedge edge and then single strand, knit a loose row to chain off the two sets of ‘stitches’ – this puts that chain cast-on on the outside edge of the pocket! Do the same thing to the shorter selvedge side on 18 needles - BTW, this is WCD at T6, gauge is 34 sts and 50 rows to 10 cm/4 in.
  That’s so machine-knitter-ish! I’m boondoggling and still looking for a shortcut!

Saturday, January 7, 2017

life lessons...

There I was working on my fourth piece in a row – there is nothing more satisfying than completing one full lace piece without a single hitch or dropped stitch but I had 2 Sleeves and the Back done perfectly. Of course, I got cocky and thinking of you, decided to give you a little ‘shortrows with ravel cord’ lesson as a refresher, you know. Big of me, right? Yeah, I can laugh now…I was perking along, writing a few sentences, going back and knitting a row or two, checking what I wrote, taking a photo or two and feeling magnanimous and proud and suddenly realized that I blew right by the start of the vee neck shaping! ARRGGH!!!
4 perfect pieces!
I turned back my knit radar, row by row and what do you know, I was over by 14 rows – this will be a piece of cake! My stitch pattern is a 14 row repeat so I won’t even have to re-read my lace stitch pattern – just rip back the 14 rows and I’ll be back on track, ready to shape the neckline half way through the underarm decreases which I’m doing with shortrowing instead of casting off each decrease – it makes a much smoother line, is neater for finishing and I usually find it much quicker than casting off at the edge on every other row which ends up with a step line. Calmly, I ripped out the 14 rows - didn’t take too long, and of course, still feeling superior and totally confident, I re-threaded and resumed my lace knitting and shortrowing and shaping at the neck side as well. After about 10 rows, I realized the sound of the lace carriage wasn’t quite right and stopped to inspect. ARRGGH! It was only transferring the stitches from left to right and not the other way. I panicked, thinking my lace carriage was broken. OMG! This is a catastrophe! I was going to drop it all from the machine in a fit of rage but decided to leave it for tomorrow. Man, good advice, MAO – know when to walk away! This morning, down a few pegs, I checked my needle arrangement and saw that in the undoing, I had messed up the 2-working-one-not needle arrangement part way across the row so it couldn’t transfer the stitches going to the left because those needles were now out of work! And now, I had no idea what row I was supposed to be on because I had turned off the machine and reset things before I figured out the real issue. Do I abandon it or attempt to pull off the coup of my knitting life? Ah, what the heck? May as well give it a try…the machine knitting gods were on my side today! I ripped out the rows that were incorrect, guessed that I was now on row 3, programmed it and gosh, darn it worked! Life is good!
To shortrow/decrease with ravel cord and deal with needles out of work:

step1
step 2
step 3
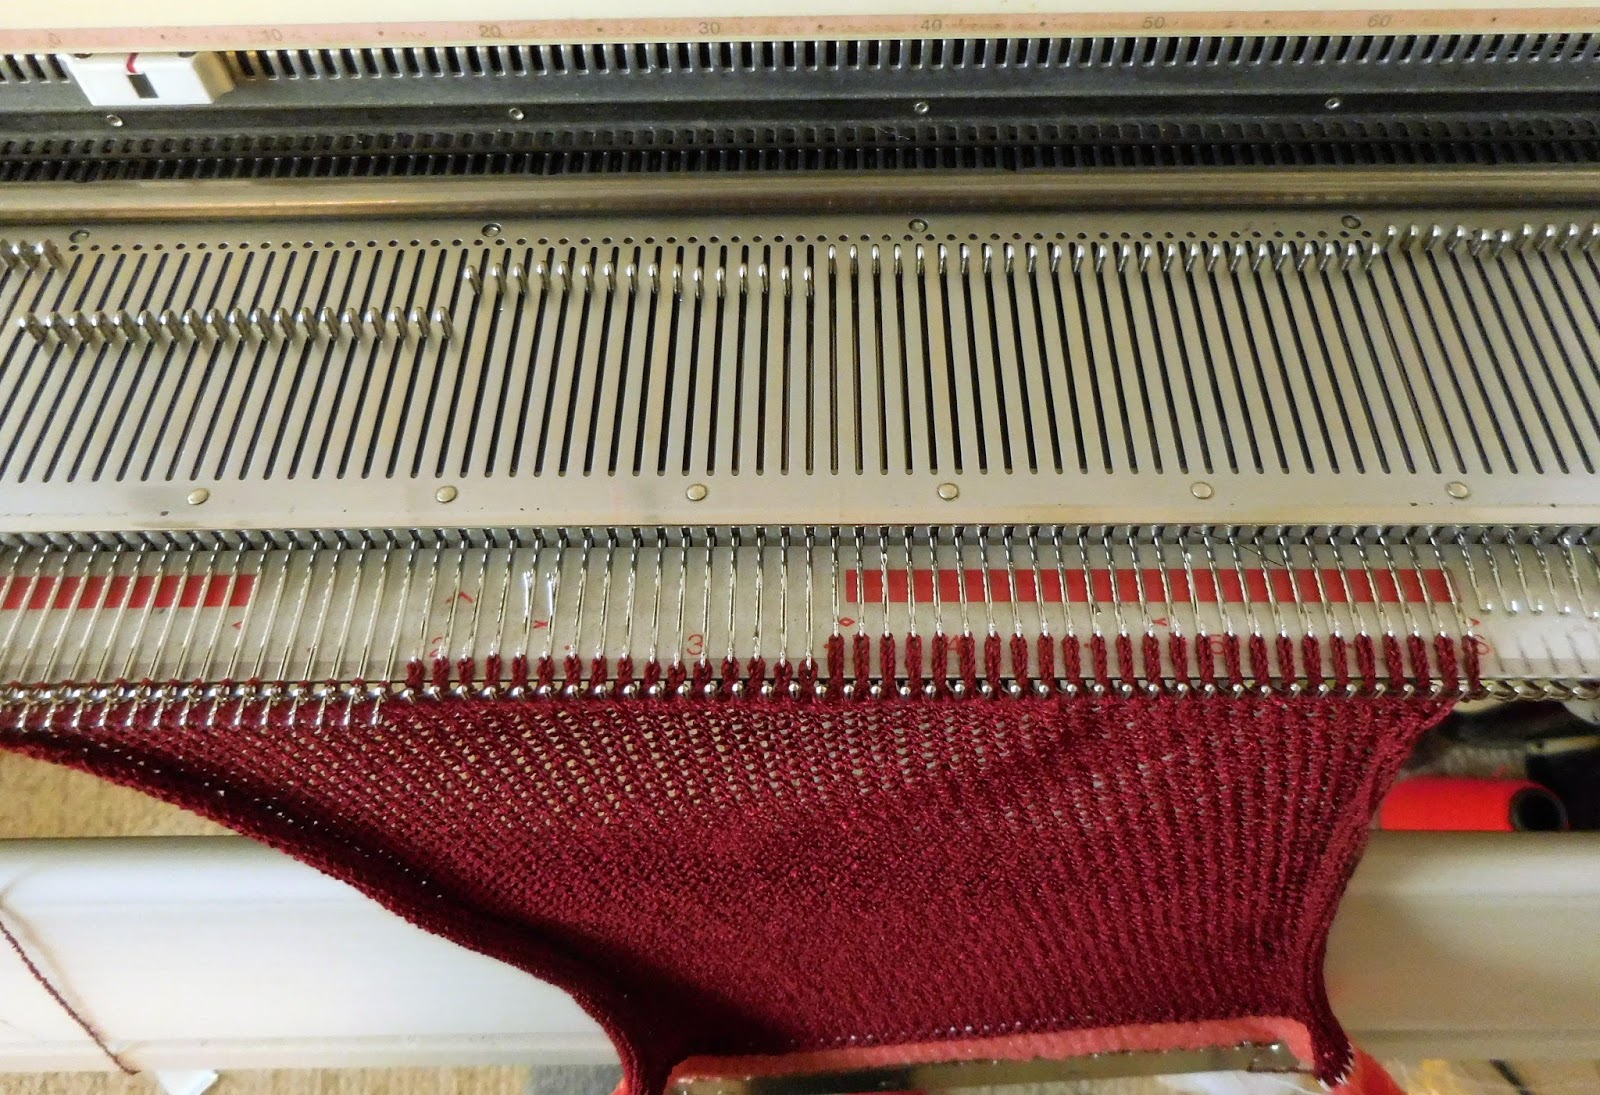
To shortrow at right side, at underarm point, knit to left. At right side, fill in any empty needles that are within plus one of the stitches to be ‘decreased’, e.g., 5 sts. Using ravel cord, knit 4 sts back to A position. Knit to right (step 1). At carriage side (right) take next stitch back to A – this takes the place of the wrapping if you were using holding position and completes the 5 st decrease. Knit to left. The next decrease would be 4 sts. Fill in empty needles within that plus 1 and knit 3 stitches back to A with ravel cord. Knit one row to right. Take the one stitch at the carriage side back to A. Continue in this manner until all stitches to be cast-off/decreased are in A position. If there is only 1 stitch to be decreased per two rows, take it back on the carriage side only, to prevent holes in your edge. When all stitches are held in A position– carriage will be at left. Knit to right. Unthread yarn from carriage and carefully pull out ravel cord from left to right and the stitches and wraps should just pop back up into the hooks of the needles. 
 4- pull out ravel cord
5 - manually knit same size row

Take the main yarn and hand knit those stitches as close to main tension as you can get, going from left to right. Now, on those same stitches, hand knit a loose row (larger than main tension) right to left. Chain off those stitches from right to left, ending at the new edge of the work and place the last stitch on the new end needle to anchor. Re-thread and continue knitting!

6 - manually knit loose row
This gives a nice, smooth curve with a minimal edge that won’t look too thick or heavy in your finished garment, perfect for lace, tuck lace.  
Hope this makes sense!
You may notice marks of the needle bed to indicate every 9th stitch repeat for the ruffly rib - I found this invaluable - use a non-permanent water soluble marker that is easy to remove with a moistened Q-tip.

7 - cast off


Machine knit like you could earn a living at it! ;-)