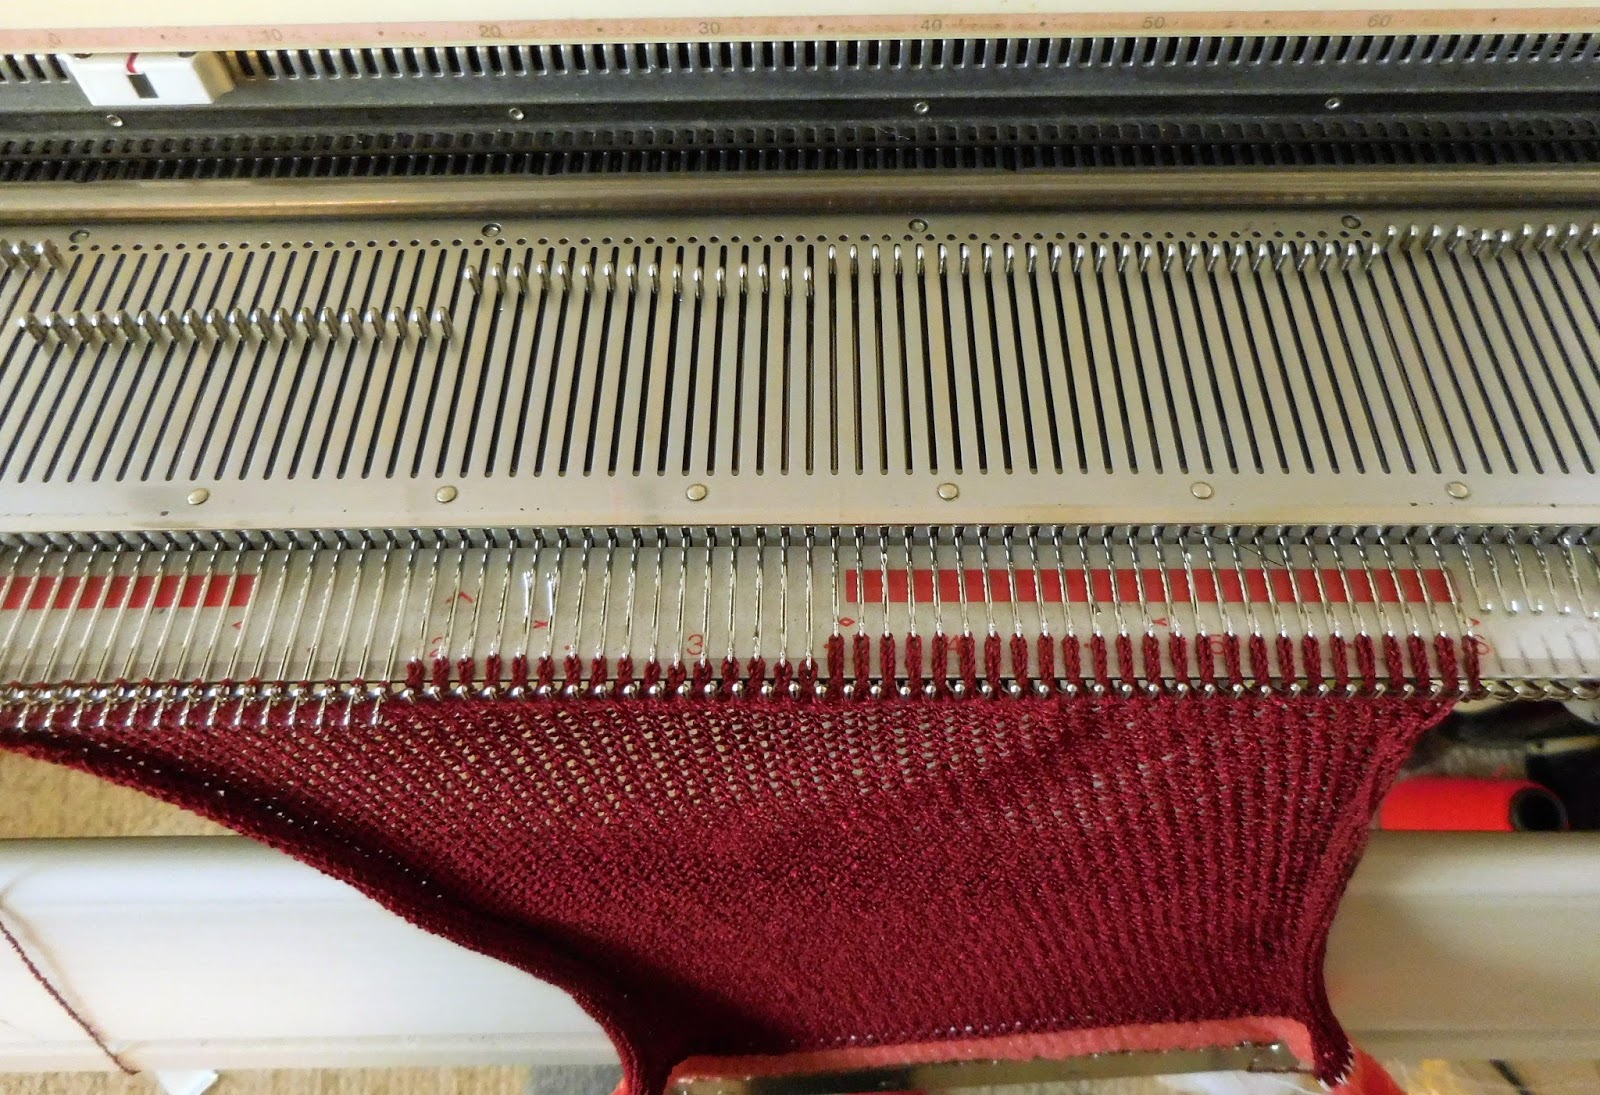
Here, we only have to worry about the top of the pocket bagging out so I’m going with 14 cm X 15 cm (5.5 in X 6 in) and because it’s just sewn on top of the garment front, things are a lot more forgiving.

A long while back, I told you about a breakthrough I had with a chained edging on a patch pocket http://knitwords.blogspot.ca/2011/03/fourth-times-charm.html and I tried it again with fairisle http://knitwords.blogspot.ca/2013/08/perfect-pockets.html - now I’m attempting to take it a step further. Note about waste yarn – don’t use crap – make sure it’s a good firm yarn that’s at least the same thickness as your main yarn or you’ll be digging for those stitches forever! I used Bonita 4 ply cabled cotton that is slightly heavier than the 4 ply wool I’m using for the main yarn and knit the waste yarn tighter – go with T6 – it will make the main yarn stitches pop up better.
 That
chain is going to go around the entire patch if I’ve figured this right. Based
on my gauge, for the chain, I will need 38 sts for the width and (60 rows divided
by 2) 30 sts for each side. To be able to keep track of this, I place the actual pocket on #19-0-19 ns. Add 30 to the left and 30 to the
right for each of the sides #49-0-49 ns. Measure out 6X width of ns in work and double that so you have main yarn double stranded, chain across,
going fairly loosely for part that is sides of pocket – you need to build in
some room for the drop and then do it a little more snugly for the width parts. Main yarn single
strand, main tension +2, knit 1 row. Break yarn. Remove 30 sts at left on WY.
Remove another 30
sts at right on waste, leaving 19-0-19 sts in work for pocket. RC000. CAR. Main
yarn, main tension, K1R. At right, pick up stitch from chain closest and hang
on #20, Pick up #19, move to #20 and take both back to #19. Make sure #20 is
out of work. K1R. This puts chain stitch on knit side of pocket edge. Repeat on
left, hanging new chain st on side opposite carriage, continuing up to RC060.
Each side should be finished now and CAR. Using tail at right and the main yarn from carriage, hand knit a loose row with double strand and
chain off.
That
chain is going to go around the entire patch if I’ve figured this right. Based
on my gauge, for the chain, I will need 38 sts for the width and (60 rows divided
by 2) 30 sts for each side. To be able to keep track of this, I place the actual pocket on #19-0-19 ns. Add 30 to the left and 30 to the
right for each of the sides #49-0-49 ns. Measure out 6X width of ns in work and double that so you have main yarn double stranded, chain across,
going fairly loosely for part that is sides of pocket – you need to build in
some room for the drop and then do it a little more snugly for the width parts. Main yarn single
strand, main tension +2, knit 1 row. Break yarn. Remove 30 sts at left on WY.
Remove another 30
sts at right on waste, leaving 19-0-19 sts in work for pocket. RC000. CAR. Main
yarn, main tension, K1R. At right, pick up stitch from chain closest and hang
on #20, Pick up #19, move to #20 and take both back to #19. Make sure #20 is
out of work. K1R. This puts chain stitch on knit side of pocket edge. Repeat on
left, hanging new chain st on side opposite carriage, continuing up to RC060.
Each side should be finished now and CAR. Using tail at right and the main yarn from carriage, hand knit a loose row with double strand and
chain off.