I’ve finished the green hoodie - it’s so cute! the only thing I don’t like about it, it doesn’t fit me! Because the colour isn’t really me, I made it to fit my daughter-in-law, Agnieszka (cover of No 53 and Mom of Nathan and Rhiana). She’s just enough smaller than me, that it’s too snug, especially you know where. But, I have to say, I impressed myself and I’m going to make it again in another colour! The techniques are amazing and I finished up with coming up with a great little buttonhole that is awesome!
The hem and bands are started with every other needle, for two reasons - to create an easy picot hem, but also to reduce the thickness on the back side of the hem - the EON will make it lay flatter and be less bulky, which was great until I came to make the buttonhole band. I thought bholes would be a snap because I only needed a one stitch hole for the 15mm buttons I had - they are a nice pewter shade and surprise, I happened to have 9 in my stash - because the band is narrow - only 4 rows - I wanted a small button and lots of them would do the job nicely. I already had the holes in the lace to test out for size - what could be simpler? well, think again, MA!
The first swatch, I merely transferred a stitch over on the top side of the band, figuring that with the EON on the back (facing) side, the hole would go right through both sides - Not! On my second attempt, I decided I needed to incorporate the buttonhole into the facing and use 2 stitches - the hole was way too big, lumpy, stretched out and was awful. Okay, so rethink and play around a bit - the lightbulb came on and it was absolute brilliance - well, I’m not going to go on and on - you’ll see when you get the pattern!
Anyway, check out the lace - there’s another special technique here, where, to keep the pattern going near the edge of the knitting, you still want the travelling path of the stitches when they are moved with the 3 prong tool, but you don’t want a hole near or at the edge of the fabric, especially where the front band will go - it will all be in the pattern - I promise it will be ready for the end of March. The yarn I used is Touch of Silk, a DK yarn by Forsell from http://www.knittinggallery.com/
Wednesday, March 16, 2011
Friday, March 11, 2011
Rant 2011
Let’s get some stuff out in the open! For those real mk-ers out there who know and love (?) me, regarding my ‘contributions’ to Knit’nStyle....
Ya know, it’s not just the fact that reading is mandatory, but, you should be semi-conscious when you do read! And as for just looking at the pictures, don’t you think it’s kind of weird that there are no photos of the MAO version of the HAND KNIT PATTERN....that’s because I did NOT design that garment - I did NOT KNIT that garment - I did not even test knit that garment or that yarn - chances are, I’ve never seen the yarn!!!
I am given the hand knit pattern and a photo of it on a hanger and asked to re-write it so machine knitters might be able to use it! In most cases I do get to choose which patterns to CONVERT or REWRITE and that’s usually based on:
1. whether it can actually be machine knit EXACTLY as the hand knit one, providing the user is able to match the gauge given and the gauge is one that I think can be achieved on a machine with the specified yarn.
2. whether I think a mk-er would actually knit it - I may be able to come up with the translation of a lace pattern but are you going to do 400 plus rows of hand manipulation? - I think not - that’s why we have machines - we’re lazy!
3. the gauge of most of the hand knits are either mid gauge or bulky, which means hand transfers - not that I have anything against a few here and there (see previous post) but if it’s going to take as long to machine knit as hand knit, why bother?
I have tried to add a few machine knitting techniques, like the use of shortrowing and waste yarn for shoulders, but due to space limitations, I’m not allowed to make too many changes - and why would I? I’d sooner start from scratch and give you a true machine knitting pattern, hoping to be able to inspire you to get outside of your comfort zone and learn a little something, expand your mk-ing repertoire...
Here’s a clue - if my name is at or near the top of the page in large letters or my picture is there somewhere, and it says, 'design by MAO' you can bet I did it all by my lonesome!
Ya know, it’s not just the fact that reading is mandatory, but, you should be semi-conscious when you do read! And as for just looking at the pictures, don’t you think it’s kind of weird that there are no photos of the MAO version of the HAND KNIT PATTERN....that’s because I did NOT design that garment - I did NOT KNIT that garment - I did not even test knit that garment or that yarn - chances are, I’ve never seen the yarn!!!
I am given the hand knit pattern and a photo of it on a hanger and asked to re-write it so machine knitters might be able to use it! In most cases I do get to choose which patterns to CONVERT or REWRITE and that’s usually based on:
1. whether it can actually be machine knit EXACTLY as the hand knit one, providing the user is able to match the gauge given and the gauge is one that I think can be achieved on a machine with the specified yarn.
2. whether I think a mk-er would actually knit it - I may be able to come up with the translation of a lace pattern but are you going to do 400 plus rows of hand manipulation? - I think not - that’s why we have machines - we’re lazy!
3. the gauge of most of the hand knits are either mid gauge or bulky, which means hand transfers - not that I have anything against a few here and there (see previous post) but if it’s going to take as long to machine knit as hand knit, why bother?
I have tried to add a few machine knitting techniques, like the use of shortrowing and waste yarn for shoulders, but due to space limitations, I’m not allowed to make too many changes - and why would I? I’d sooner start from scratch and give you a true machine knitting pattern, hoping to be able to inspire you to get outside of your comfort zone and learn a little something, expand your mk-ing repertoire...
Here’s a clue - if my name is at or near the top of the page in large letters or my picture is there somewhere, and it says, 'design by MAO' you can bet I did it all by my lonesome!
Tuesday, March 8, 2011
On designing....
When I’m drawing a blank on what to make next, I fall back on my old standard question - what kind of garment would I like to pull out of my closet right now? How can I put a different spin on yet another cardigan on the mid gauge? Spring is coming, I’m sure, and I love lace and doing it on the mid gauge means hand transfers. Therefore, I don’t want anything too complicated. I looked through some old hand knit magazines for some inspiration for a lace pattern - I wanted to avoid vertical and horizontal lines and have a pattern that wouldn’t take forever to do.
I found a fairly simple one that in hand knit was a 12 st X 18 row pattern - in hand knits they do yarn overs and K2tog, which make the eyelets, on every row. In machine knitting, transfer the stitch to the next needle and leave the empty needle in work does the same thing. As a machine knitter, being basically lazy, I generally try to set up patterns that require transfers on every row - I find it’s easier to follow, less chance of error and it gets the job done quicker when you can knit 2 rows between the work.
So, my first try resulted in this (the blue) - it looks very close to the hand knit version, but I found it kind of boring - after I got the piece off the machine to really look at it,
I’m thinking, what can I do to spice this up??
I decided to go with a 2-step full fashioned transfer - so, in the green swatch - still did the very same eyelets, but took the 4th stitch from where the hole was to be, moved it one needle toward the hole needle, then took 3 stitches with the 3 prong tool and moved them together away one needle space to make the first hole (like what I call an 'outlined 4 to 3 full fashioned decrease'). Knit 2 rows. Did the same thing on either side of the single hole, K2R and repeated that again to make the bottom V. Then on row 8, put 3 sts on centre needle of the motif, making 2 more eyelets. Then knit six rows (this can be varied, less if you want more holes in the piece). Repeated the motif but offset it to be between the first set of motifs. Notice how the travelling stitches between the motifs create a new dimension to the fabric - it reminds me of paper lanterns. I also played with the bottom pattern to make it match better with the overall pattern. My overall pattern ended up to be a 12 st X 24 row repeat with transfers on 8 rows, so it is still a pretty quick knit but with a nice overall effect. Now, shall I do make it a hoodie or not?
Saturday, March 5, 2011
Button detail
So, I’ve got exact placement on 3 of the 7 buttonholes and 2 more to go between the end and centre on each side. Rather than counting (and re-counting) needles, I use the ruler marked on the straight side of the needle selector to measure the spacing between needles - it’s much quicker to adjust and get the spacing exact this way. Now all I have to do is finish up!!
Maybe I should tell you, this is going to be the March pattern for standard gauge - tons of details to make planning, altering, knitting and finishing go easier, like when do you need an extra stitch for seaming or not. The yarn is Yeoman Yarns Brittany, used double stranded, so get 2 cones! I see Sue at http://www.knititnow.com/ is going to be bringing Yeoman Yarns to the US - Pat Holbrook at http://www.cardiknits.com/ in Canada.
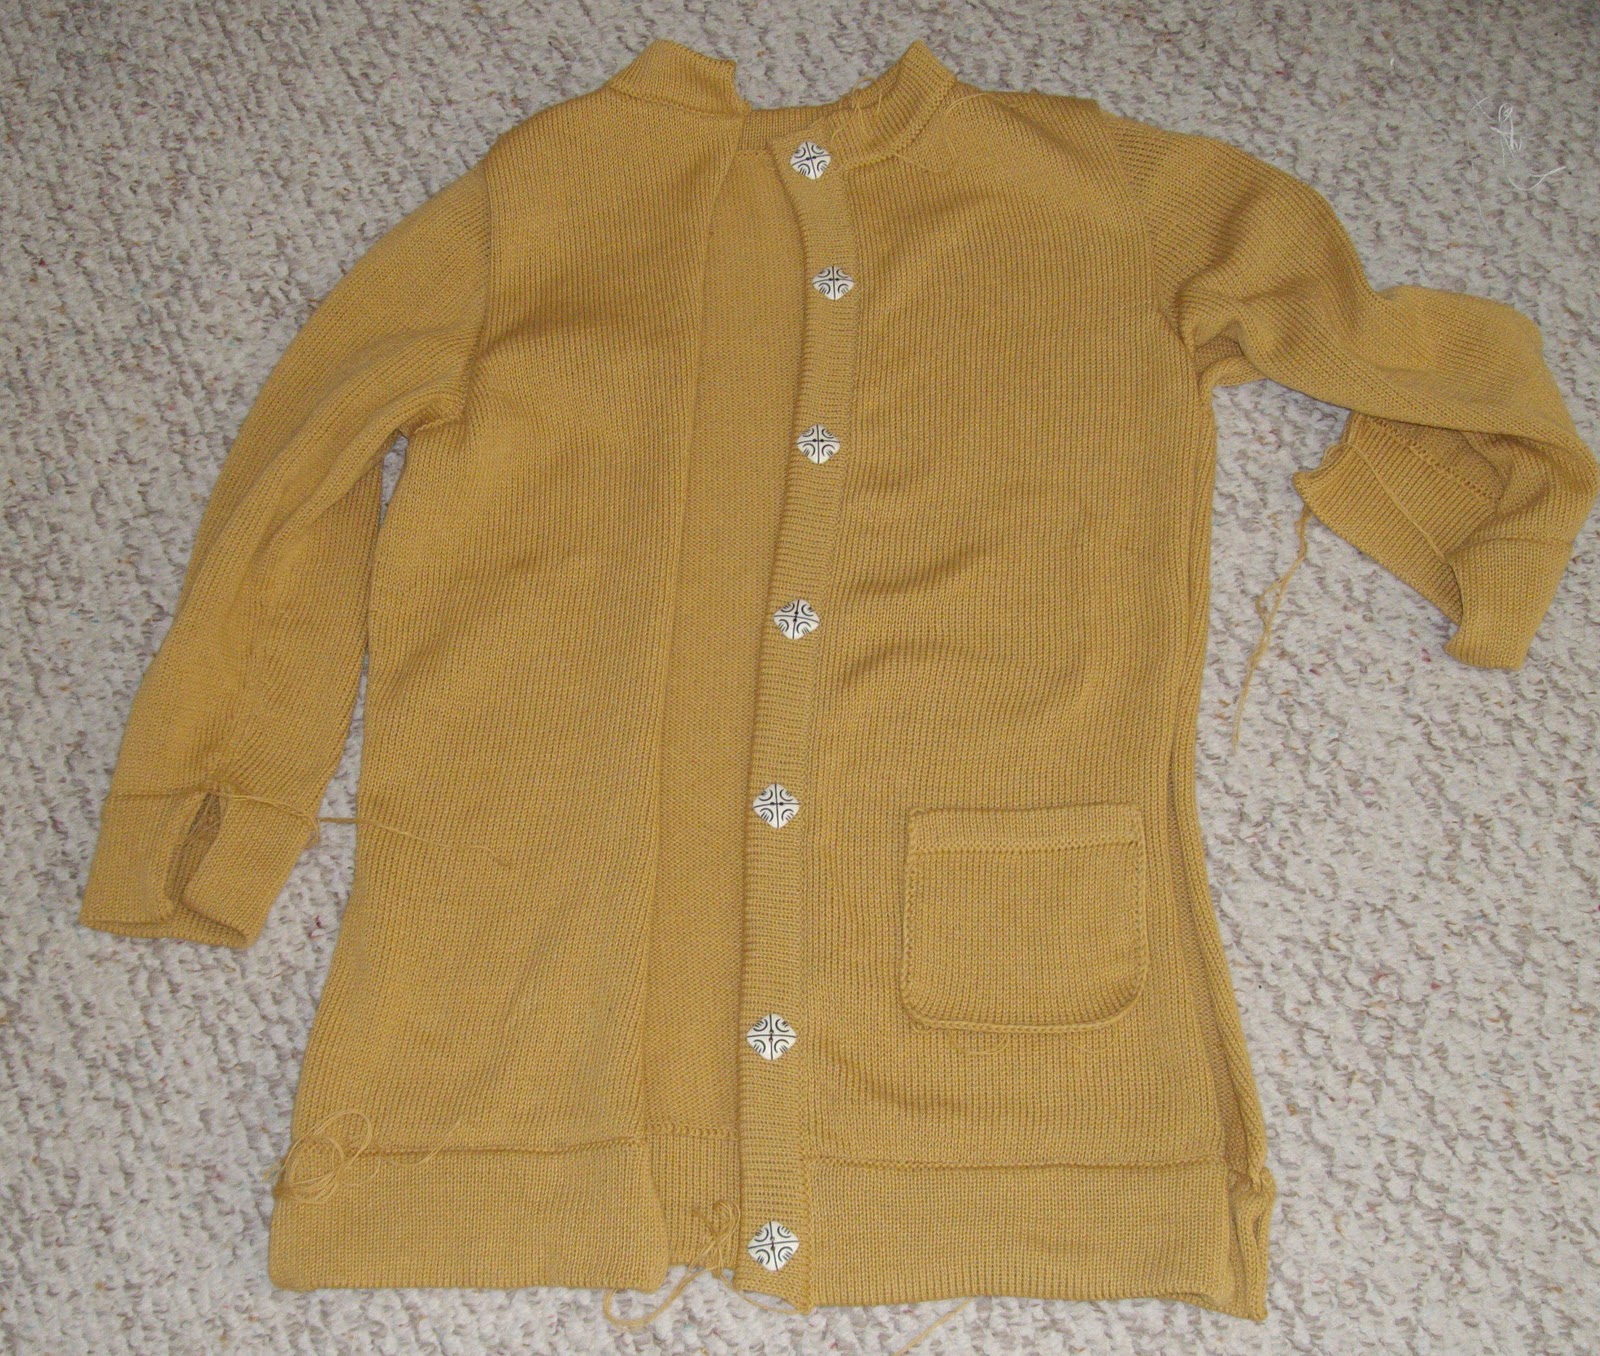
About those buttons, I know what you're thinking - what's she thinking? - I had 7, the approximate size, but I agree, they really don't anything for the cardigan... wait and see!!
(bet you didn’t expect to hear from me again so soon! oh, and in case you haven't figured it out yet, if you click on the photos, they enlarge.)
Friday, March 4, 2011
Fourth time’s a charm...
I’m working on a patch pocket...now, I’ve made them before and I want it fairly basic - it’s just plain stockinette, so I’m curving the bottom corners, by shortrowing - oh, I should say that I began with a chained cast-on, using the yarn double stranded because I know it will look nice - the top of the pocket is finished with a narrow stockinette band, made separately from the pocket - a few less stitches and a slightly tighter tension to draw it in a bit so the top won’t flare out.
Heh, heh! still a few extra stitches of chain... no problem, just knit a new one with less chained stitches - really think about it this time - only need 1 chain stitch for every other row of the depth of the pocket and don’t forget, you shortrowed those 4 sts/8 rows and the band was 8 rows=4 stitches - just happens to be the same as the shortrowed part - have I lost you yet??? The pocket was 40 rows, so all I need is 20 chained stitches each side!!!I love a challenge!
The second one was just right, but as I looked at it I thought, G! that chain would look really nice if I could make it go up the sides too.
Then, I measured the chain from the bottom, to figure out how long it needed to be to go up the sides and added that to the width of the pocket. So, instead of casting on 18-0-18 n’s, I cast on 25 sts extra to each side, chaining across using the main yarn double stranded. Then K1R, single strand. Then I took off the 25 sts each side on waste yarn. Now, I’m knitting the pocket, shortrowing the bottom corners for the curve, 1 stitch on every other row, 4 times for each side. Okay, row 9 and now I should start adding the chain up the sides....think about it for a bit and I want the chain to be on the front, like the bottom, (when the knit side/side away is the right side, what you put on first will be on the outside - like doing a cable, the stitches put down first will be on the outside) - so, I take the end stitch off, hang the next stitch of the chain and put the end stitch back on. Yes!! it works! I soon realize it’s easier to do each side on opposite rows so you’re not fighting against the yarn on the carriage side - no big deal, I was joining it on every other row anyway. As I get closer to the top, I realize I have too many chained stitches left - G! Can I attach it to the edges of the top band?? The band is made separately and hemmed into the bargain, so this method of attaching won’t work... I take the pocket off and make the band, pondering the problem as I make the band on auto-pilot. Attach the pocket to the band and yes, I have it! Hang the end of the band, pick up the stitches holding the chain, pull them through, cast off and Bob’s your uncle!!
Friday, February 25, 2011
The em word...
It happened again!! I was in the grocery store yesterday, going over to the fruit and veggie section - there was a log-jam of people trying to get by this old gal who thought she was the only person in the store. The lady behind her, coming toward me, was rolling her eyes and making weird faces at me - I thought she was just expressing her exasperation at being held up. Amused, I stepped aside to let the old gal by and stayed there to let this lady go - she abandons her cart in the middle and comes over to me and grabs me!! I was shocked - she started blabbering about beautiful colours and sock yarn and as I got over being accosted, I realized she was a hand knitter who was attracted by my sock yarn scarf - you may remember, back in No 46 of KNITWORDS, Ev McNabb had made the ‘Two Left Feet’ scarf using leftover self-patterning sock yarns. Ev’s was done on the Passap and I thought it was cute, a real novelty and I liked the fact it had a lot of teaching techniques and I did have a ton of leftovers myself so I made my own version and wrote the pattern for the Japanese machines. I did wear it in the magazine - Lindsay and I modelled them together - at the time, it looked okay with a jean jacket, for the magazine, and like I said, it was a novelty item. Afterward, I did put the scarf on a few times to wear it in cold weather, because it is actually nice and warm, but it was a little too out-there for me and I couldn’t go out in regular public with it. Since then, I revamped my scarf, cut out the heel and toe, and grafted it back together to make it just plain and straight -and I have worn it quite a bit - it’s still long enough to fold in half and draw both ends through the loop on one side.
So, anyway, here I am in Safeways and this woman is acting like I’m Nicki Epstein or whoever - she’s saying how she’s used that stuff for socks but hadn’t thought of making a scarf and she’s yanking at it and going on about all the different colourways and then she says, that must have taken you ages to knit and, without thinking, I said oh no not really I used a machine. You’d think I said the ef word - she dropped her hands, turned, went back to her cart and dashed off. I felt like I should have been ashamed of myself...
Monday, February 21, 2011
Button Day
Actually, today in Ontario, is ‘Family Day’ - a new stat holiday I think only us in Ontario - and Alberta and Sask- maybe - get, because some politician was looking for votes - kind of dumb, I think because everything is closed (even Home Depot) so what are you supposed to do - can't even go stateside because it's Presidents Day and the post office is closed...I did go out to go snow shoeing with my niece and saw our poor mail carriers doing their routes - ha! ha! they are federal employees and don’t get this day off (yet)!
Just finishing up the February Pattern of the Month designs - this means all the little finishing details, darning in ends and sewing on buttons - and doing the final tweaking of the actual patterns. Thought I’d give you a quick preview of what’s coming if you’ve subscribed to my Serial Stuff (thanks if you have - if not, you still have a week to get on board!).
Marsh Print (working title) is a new sideways knit, for the standard gauge - well, actually I did wear it last fall in Cleveland so it’s not really new, new - everyone loved it, but I didn’t have the pattern ready then, so if you’ve been waiting, here it is. The yarn is woolray/velveen, aka Wool Crepe Deluxe and Sue at ‘Knit It Now’ (used to be BT Yarns) had it on sale again, I noticed... anyway, this design features back and front knit cuff to cuff - I’m giving several variations - I’ve actually knit it 4 different ways, playing with sleeve length, and size and placement of the gores which add fullness in the hip region - this variation has a box pleat 3/4 length sleeve - I also made it in Mini Dina and in Tamm Diamante - I did get same gauge with each of these yarns, so you’ll have a variety of yarn choices. The pattern will include various edge finishes and different bands. On this marsh print, I used the purl side as the right side, because I liked it better - I thought the purl side didn’t look as stripey - but the other versions use the knit side as right side. The full-peplum-look from waist to hem is created with gores and again, I experimented with a very large gore (this one) to a much smaller gore, resulting in a less full bottom. This garment can look very fancy or relatively casual, depending on how you pair it.
For mid gaugers, the Red Raglan (working title) is it for February - an A-line shape cardigan with fancy detail in the raglan decreases and rib and cable combination hand transferred hems, cuffs and collar - lots of nice details for the intermediate/advanced knitter - there is a plain version for the beginner knitter - knit in a DK weight wool. A great button loop technique that really makes the front band outstanding, will solve the buttonhole dilemma for many. It’s always a challenge to find the perfect button to go with something you’ve made - one tip - I am hardly ever able to find an exact colour match for buttons, so I usually opt for metallic or wooden buttons - these buttons are just laying on the garment right now - I’ll look at them for a bit before deciding - I usually pin them on and try on the cardigan to get a better idea - my other option is a flat wooden button the same size that I’ll paint to match if I don’t like these...
Just finishing up the February Pattern of the Month designs - this means all the little finishing details, darning in ends and sewing on buttons - and doing the final tweaking of the actual patterns. Thought I’d give you a quick preview of what’s coming if you’ve subscribed to my Serial Stuff (thanks if you have - if not, you still have a week to get on board!).
Marsh Print (working title) is a new sideways knit, for the standard gauge - well, actually I did wear it last fall in Cleveland so it’s not really new, new - everyone loved it, but I didn’t have the pattern ready then, so if you’ve been waiting, here it is. The yarn is woolray/velveen, aka Wool Crepe Deluxe and Sue at ‘Knit It Now’ (used to be BT Yarns) had it on sale again, I noticed... anyway, this design features back and front knit cuff to cuff - I’m giving several variations - I’ve actually knit it 4 different ways, playing with sleeve length, and size and placement of the gores which add fullness in the hip region - this variation has a box pleat 3/4 length sleeve - I also made it in Mini Dina and in Tamm Diamante - I did get same gauge with each of these yarns, so you’ll have a variety of yarn choices. The pattern will include various edge finishes and different bands. On this marsh print, I used the purl side as the right side, because I liked it better - I thought the purl side didn’t look as stripey - but the other versions use the knit side as right side. The full-peplum-look from waist to hem is created with gores and again, I experimented with a very large gore (this one) to a much smaller gore, resulting in a less full bottom. This garment can look very fancy or relatively casual, depending on how you pair it.
Subscribe to:
Posts (Atom)