 |
| me, original, 2012 |
 |
| 2017 camo version, with pockets |
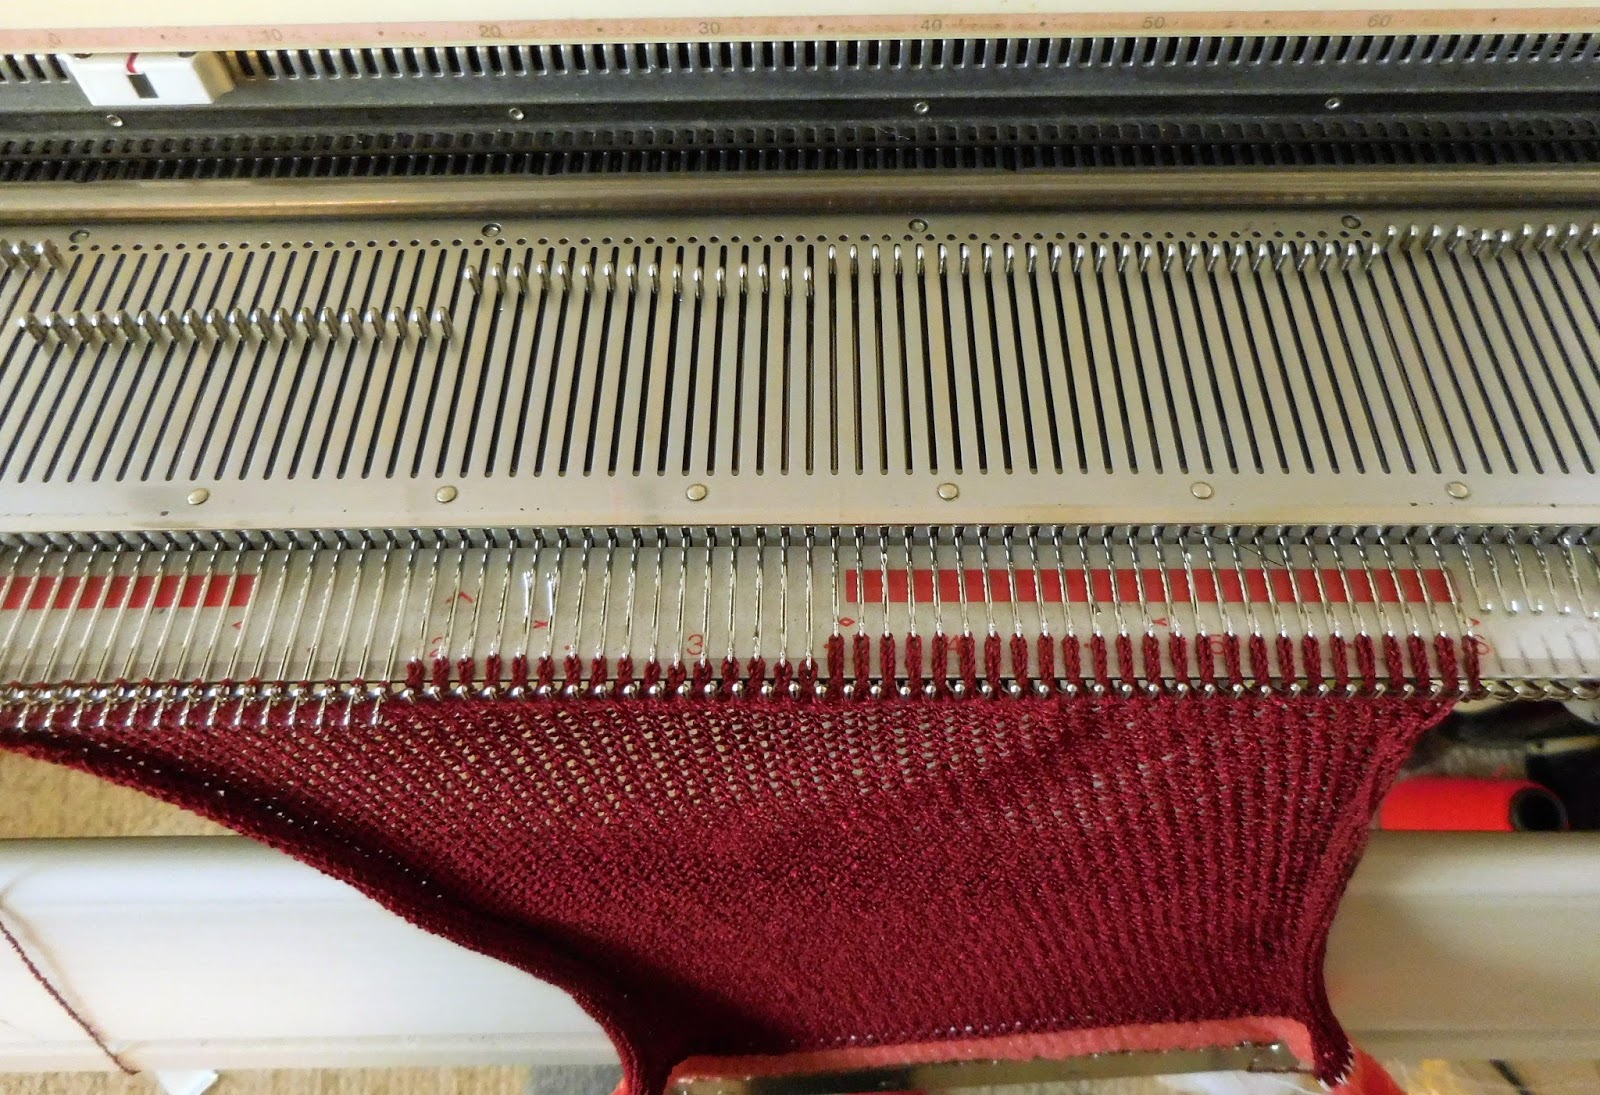 |
| manual loose row variations |
 |
| almost finished, pinned in place |
 To finish the straight selvedge that goes up
the centre front, which was 90 rows, I chained over 45 needles, double stranded
– use the latch tool from the mid gauge machine to maintain a loose, even
tension – wrong side facing you, hang half the outside edge stitches – the bar
between the knots of the selvedge edge and then single strand, knit a loose row
to chain off the two sets of ‘stitches’ – this puts that chain cast-on on the
outside edge of the pocket! Do the same thing to the shorter selvedge side on 18 needles - BTW, this is WCD at T6, gauge is 34 sts and 50 rows to 10 cm/4 in.
To finish the straight selvedge that goes up
the centre front, which was 90 rows, I chained over 45 needles, double stranded
– use the latch tool from the mid gauge machine to maintain a loose, even
tension – wrong side facing you, hang half the outside edge stitches – the bar
between the knots of the selvedge edge and then single strand, knit a loose row
to chain off the two sets of ‘stitches’ – this puts that chain cast-on on the
outside edge of the pocket! Do the same thing to the shorter selvedge side on 18 needles - BTW, this is WCD at T6, gauge is 34 sts and 50 rows to 10 cm/4 in.That’s so machine-knitter-ish! I’m boondoggling and still looking for a shortcut!

2 comments:
You make so much good sense when you write! Looks great and fantastic results!!! The Omega would make a great guys hoodie, I'm thinking black and blue...no pun please. :)
Why? Why push the slant edge needles so far back? Then I looked closer at the photo and it is obvious. It looks fantastic. I love pockets!
Post a Comment