You’re not going to believe this, but I’m actually planning on making this
Good Wife Cardi with two different
yarns. Kids, don’t try this at home! Alicia’s cardigan is specialty fibre and I
have something close but know I’ll definitely need two cones. The first one I
have is something I’ve been saving for at least 20 years. Anyone remember a
business called Carver Textiles in Calgary, Alberta? Here’s an excerpt from my
editorial blurb from Knitwords No. 2 Autumn of 1997:
Back in June, when planning
this issue, I needed some yarn to make a tunic that was drapey, a bouclé would
be best, and I needed it in a hurry. I was imagining a rayon, slubby yarn in
one of those non-colours. What was I going to do? I suddenly remembered a visit
to Bob Carver’s in Calgary a few years ago. Bob’s place was a warehouse of
shelves and racks full of industrial yarns, mill ends and full line yarns,
almost everything imaginable – the machine knitter’s dream palace! So, I called
Bob, explained my problem and he said he’d send me some stuff, what colours did
I like and, I could send back what I didn’t want! Who could ask for more? I
told him earth tones and to put it on the bus as that was the cheapest,
quickest way in western Canada (Thunder Bay is 2000 km from Calgary). Sure
enough, 36 hours later, there I was struggling with this huge box. There must
have been 30 cones of yarn in there! I wanted all of it! It was great - lovely
taupes, jute, creams, ivory, olives and only one blue one! There go the
profits! Of course, two days later when the invoice arrived in the mail, I knew
I needed to get a grip on reality. I did send back about half the shipment.
But, thank God and Greyhound and Bob Carver! Wasn’t there a song like that?
And then, the kicker, that
particular tunic didn’t make the ‘cut’ for this issue – you’ll have to wait for
the next issue to see it!
That’s
the background on the first cone, it’s cashmere and angora in a lovely oatmeal
shade, about 500g total. And why have I been saving it? Likely because I
couldn’t use it for a pattern without being able to give a good substitute and
I’m pretty sure Bob is no where to be found, never mind the yarn! Full
disclosure, I only have two more cones (not the same stuff) from that original
shipment! ;-)
The
second cone was gifted to me a few years ago by my friend Vickie, who loves
teal and jewel tones, and I’m sure I got this one only because it was oatmeal
in colour – it is 100% alpaca from 4-B Llamas in Rose Prairie, BC. The label
identifies it as 2 ply/1600 yds/lb, 425 g, and the colour is handwritten in as
‘Elvis’! I’m thinking that’s the llama’s name – I love stories like this!
Anyway,
these, side by side, at a quick glance, appear to be the same – close enough
for me to think I can use one cone for the back and sleeves and the other for
the fronts. It’s not like the finished garment is going out in an international
trunk show! If you’re reading this, that means I did it, whether it really
worked remains to be seen! Later!
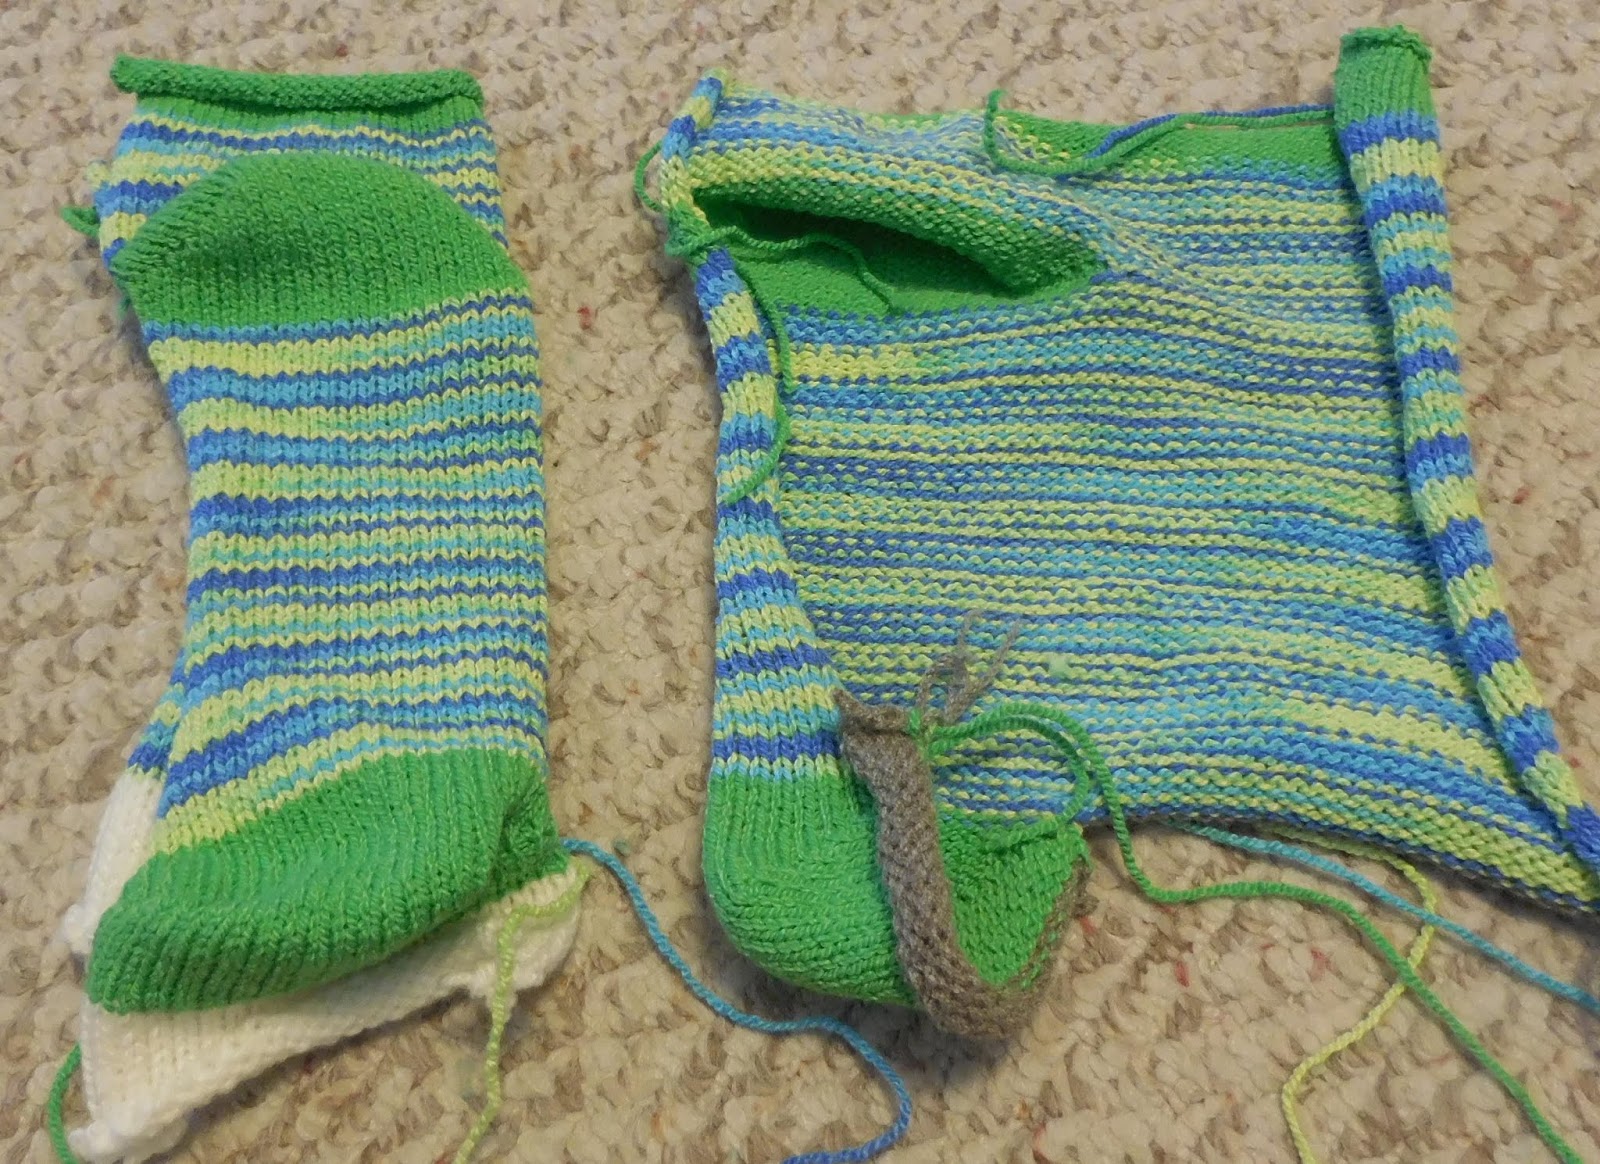
 This
past month, I kept off the keyboard, busy with some sewing and making Christmas
socks and gifts, without sharing, because I had nothing new to add.
This
past month, I kept off the keyboard, busy with some sewing and making Christmas
socks and gifts, without sharing, because I had nothing new to add.  for the
slant edge on patch pockets – used it several times since and I love it –
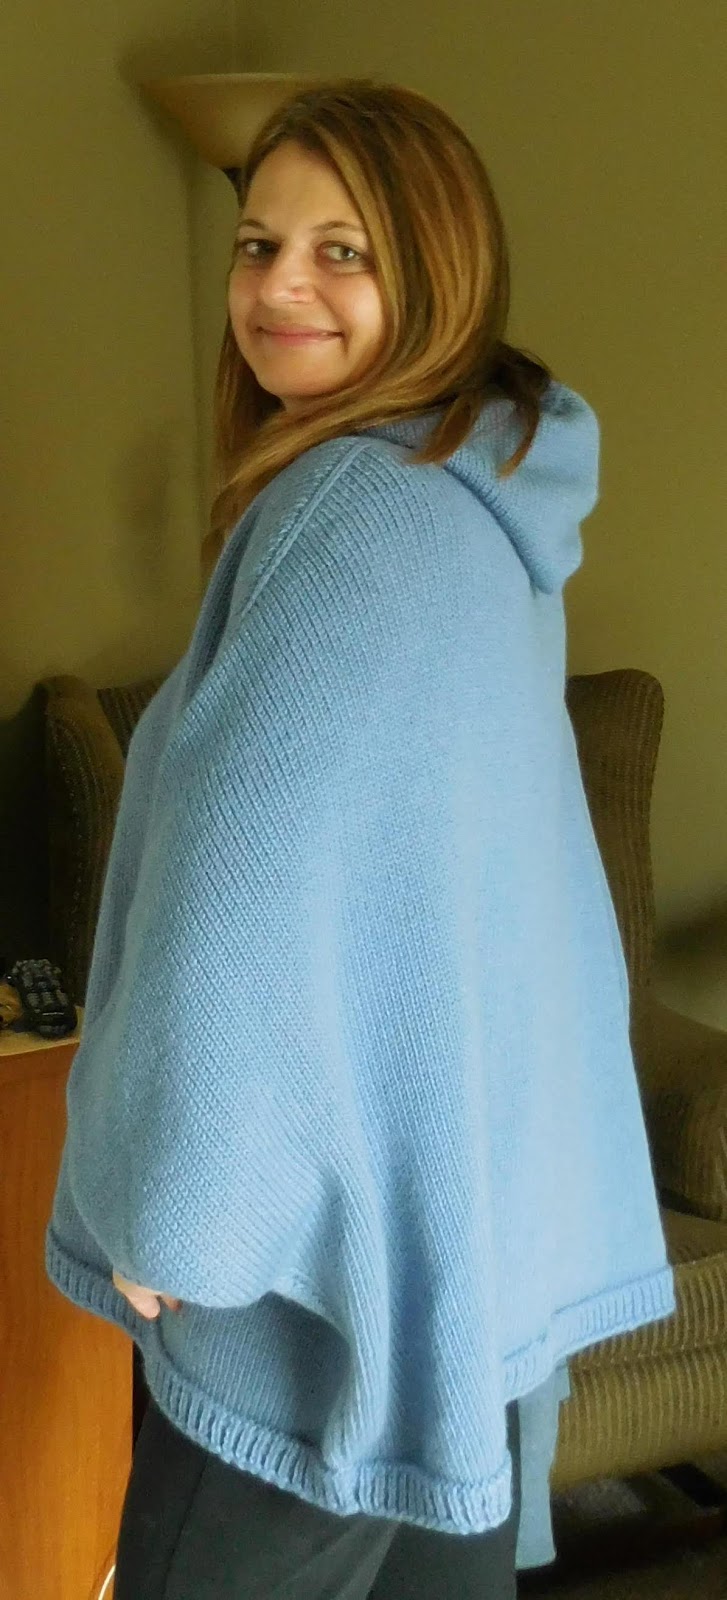
yesterday, finished up another TBHoodie
on the LK and an added outside pouch pocket, using the decrease hack – so much faster
and proving it works great on mid gauge too!
for the
slant edge on patch pockets – used it several times since and I love it –
yesterday, finished up another TBHoodie
on the LK and an added outside pouch pocket, using the decrease hack – so much faster
and proving it works great on mid gauge too!